
Last updated September 23, 2026
Free visual inspection and a written scope of work before any mitigation begins - photos, moisture readings, and drying logs go in your claim file
The scope we write is the scope we bill. Anything new gets shown to you, in writing, before we touch it.

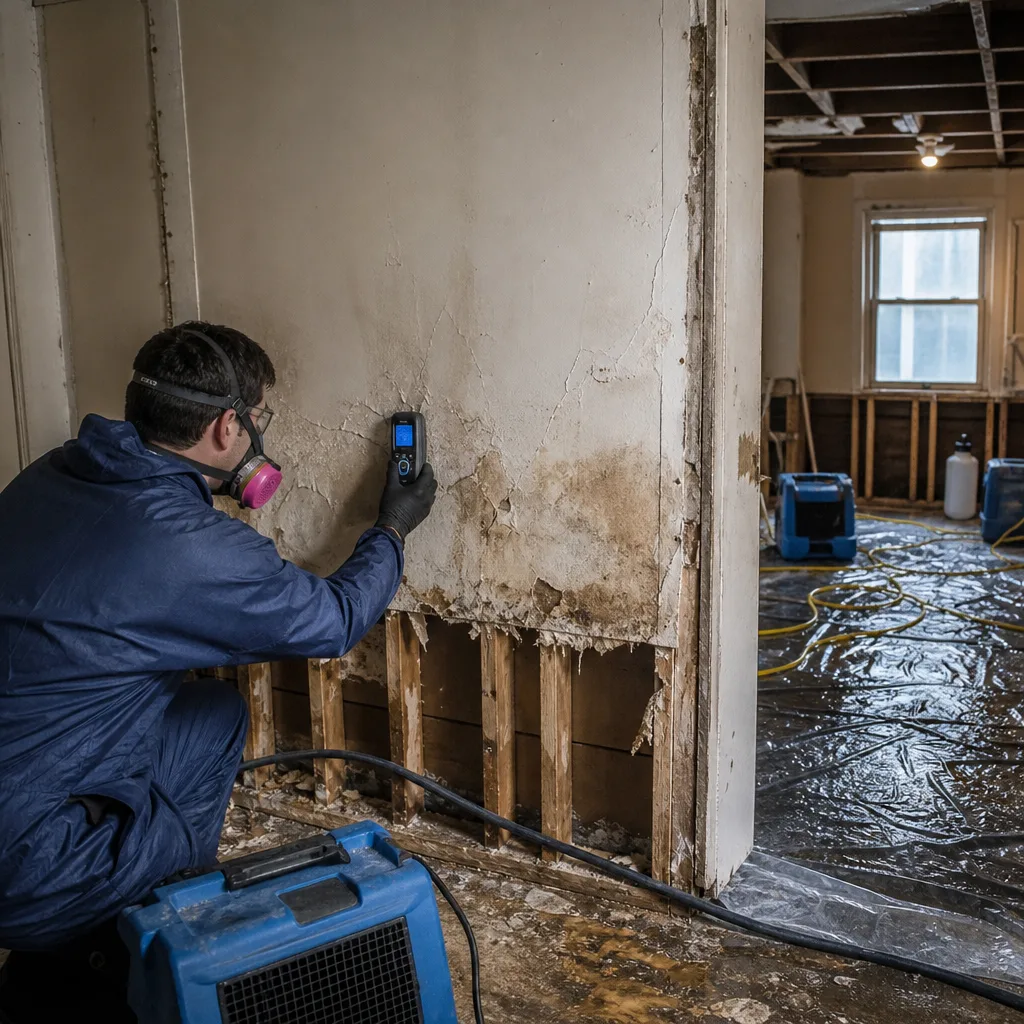 Before
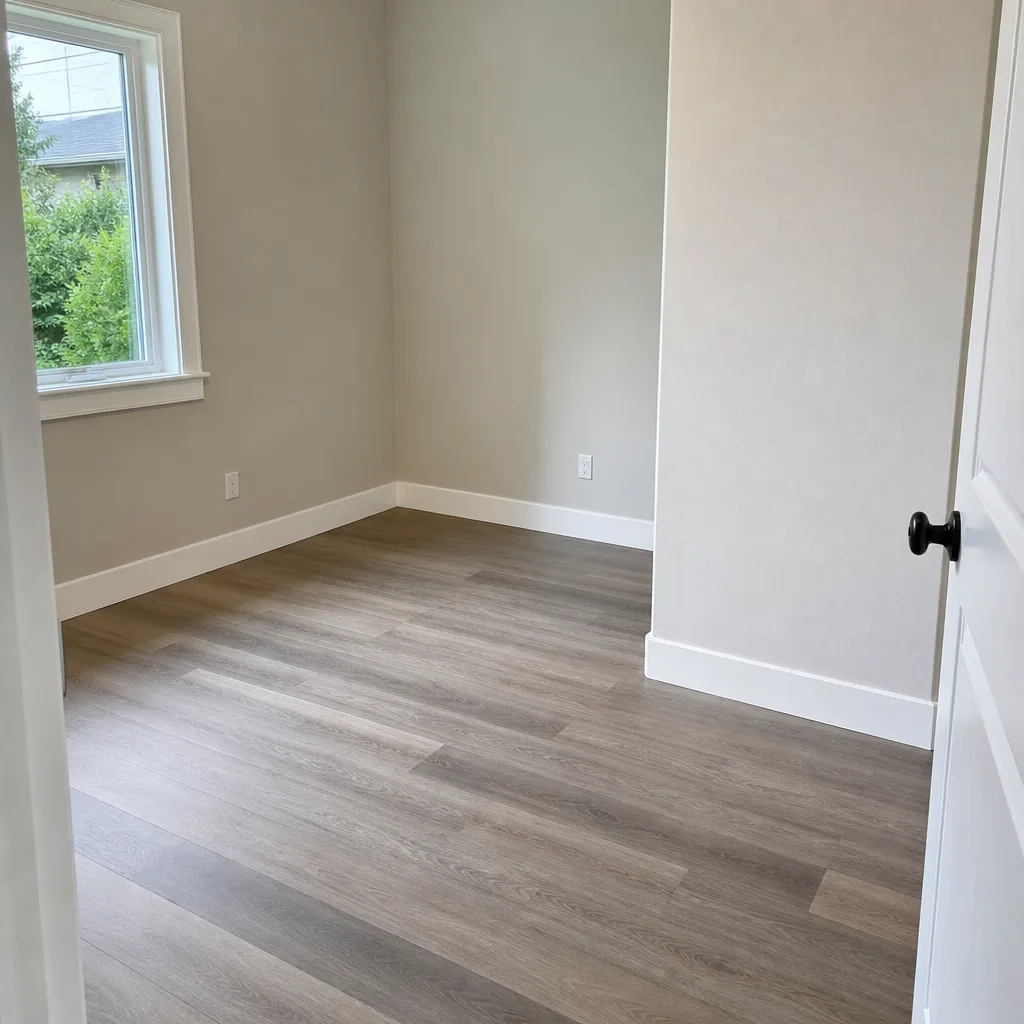 After
After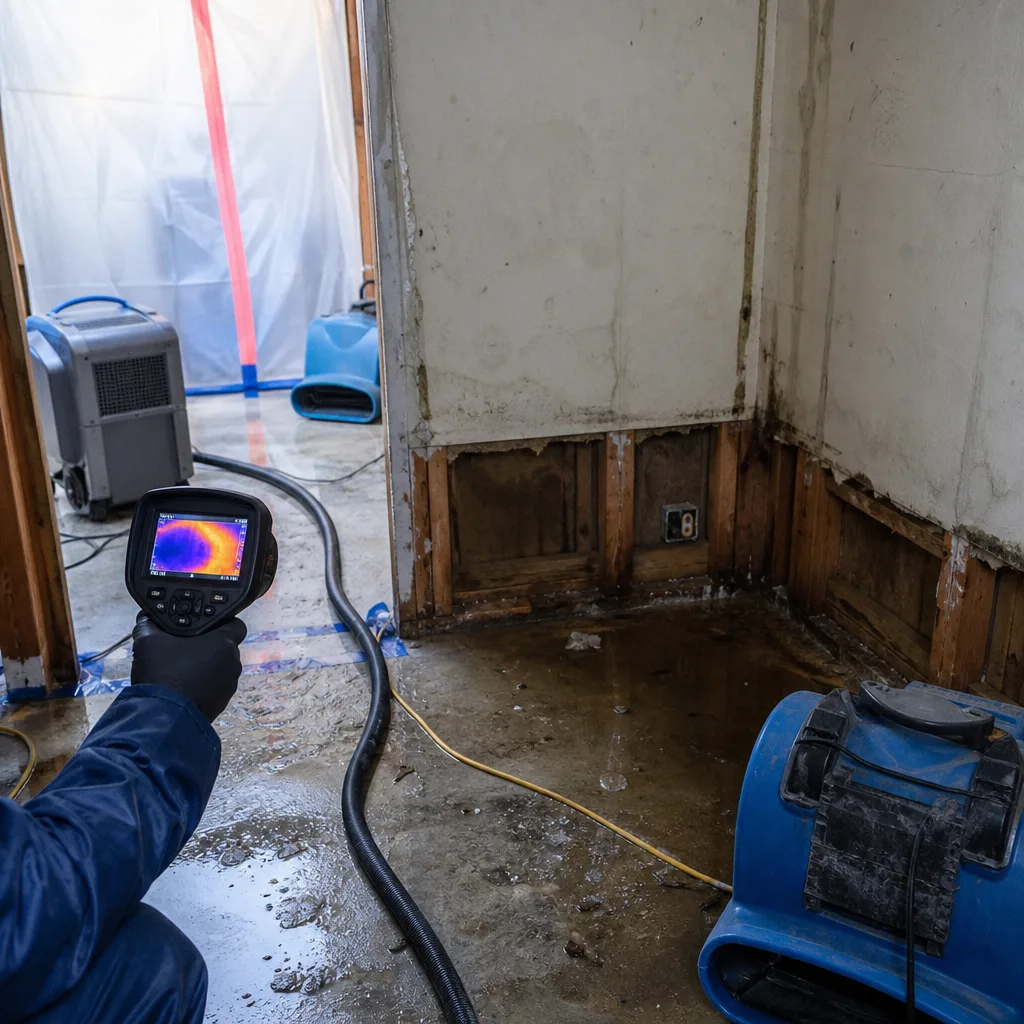 Before
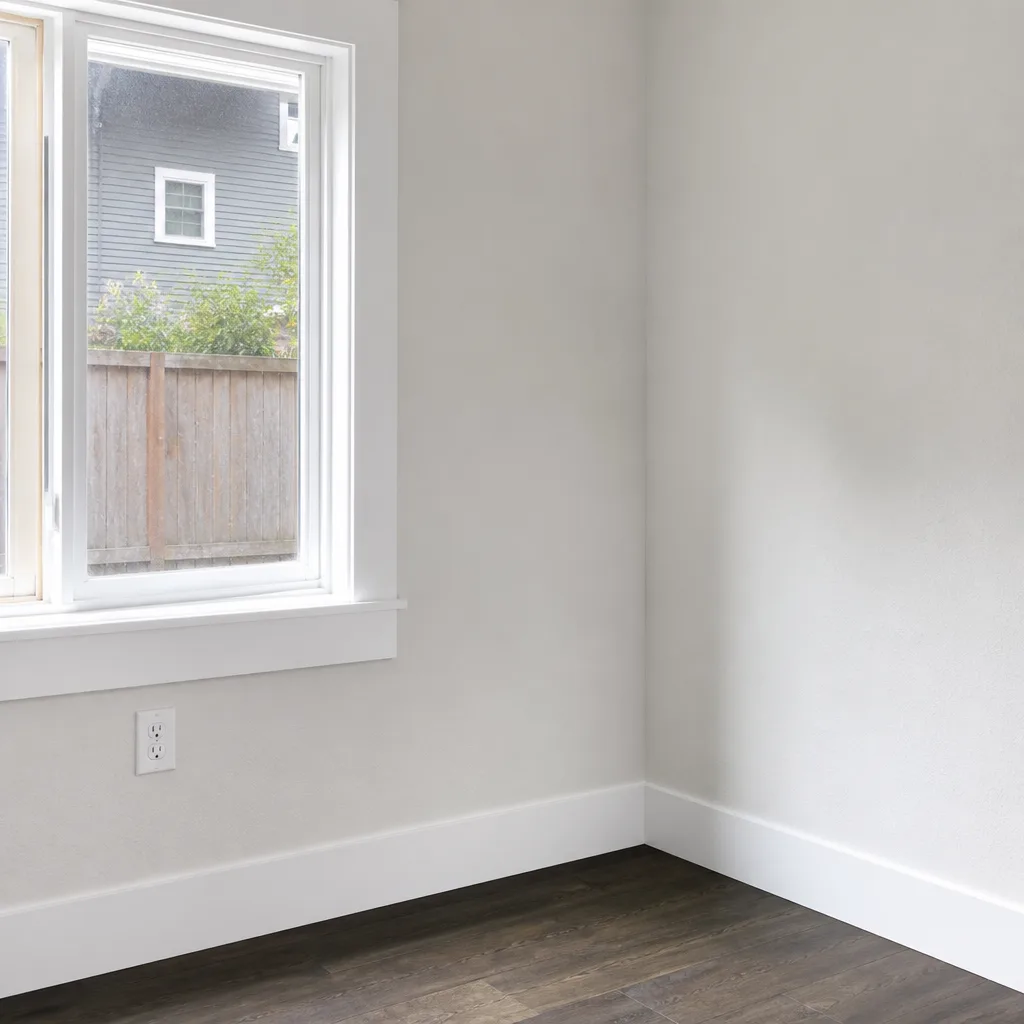 After
After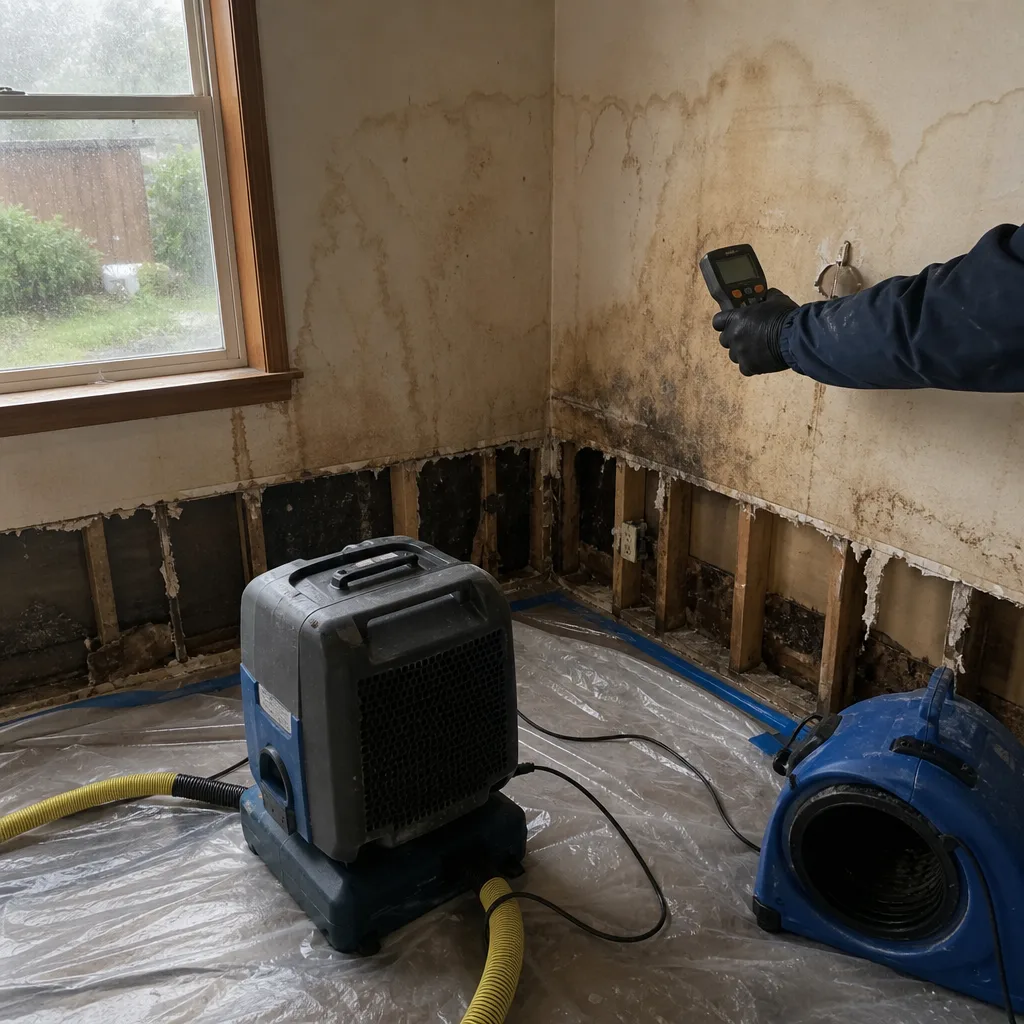 Before
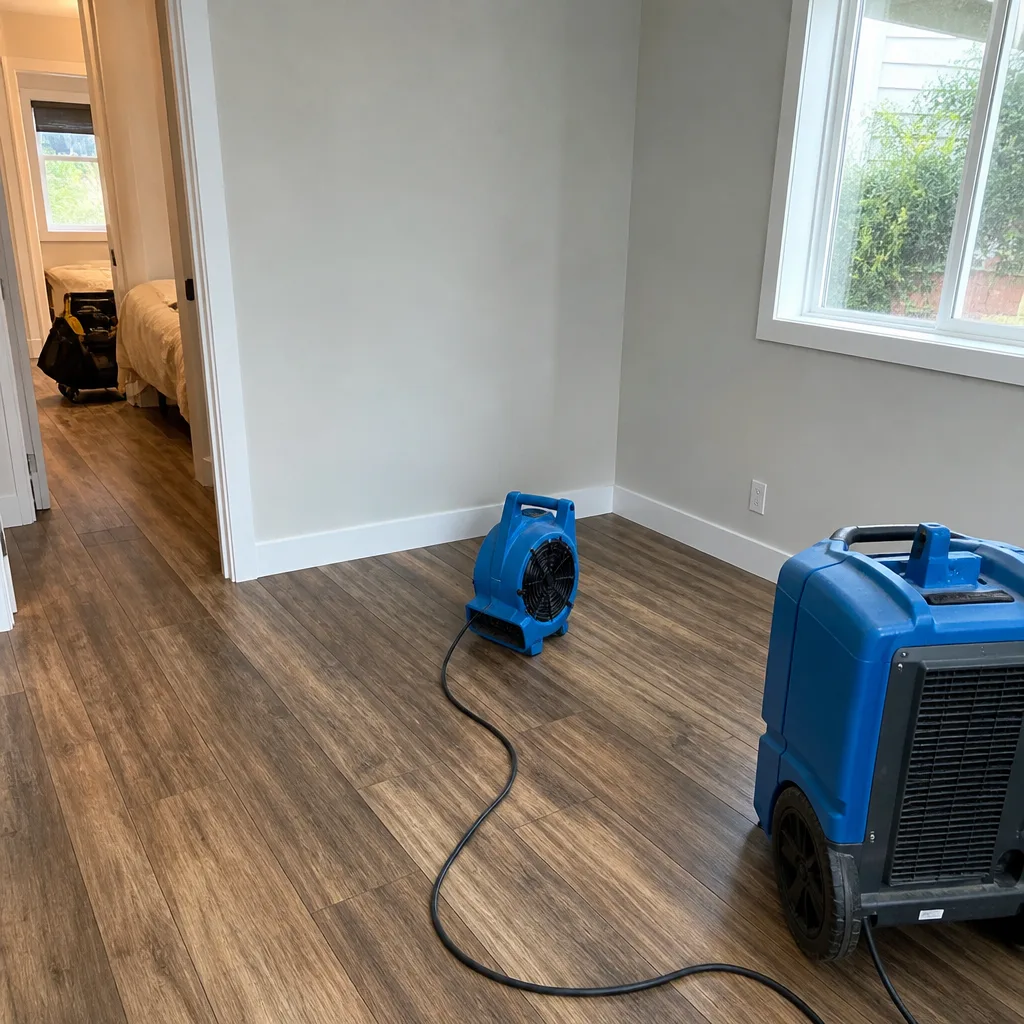 After
AfterWater Damage Restoration Maintenance Checklist for Seattle Homeowners
A crawl space moisture reading above 19% in October is not a future problem. It is active wood rot in progress. Most Seattle homeowners discover this in February, when a water damage restoration contractor pulls their subfloor and the insurance adjuster asks: “When did the condition start?” The honest answer - “I didn’t notice” - costs claims. This checklist replaces guessing with measured, dated, photographed evidence. You’ll learn the specific moisture thresholds that trigger action, how to build a pre-loss documentation log that insurers accept, and the five Seattle-specific failure points that appear in our restoration files year after year. This is maintenance as documentation. What you measure today protects your claim tomorrow.
Quick Answer
Seattle homeowners should inspect, measure, and photograph moisture levels monthly from October through February, with quarterly checks during the June dry-out window. Key thresholds: crawl space relative humidity below 60%, basement wall moisture content below 16%, attic sheathing below 19% - all verifiable with a $30 pin-type moisture meter. Exceed any threshold, and you have 48 hours before Category 1 water becomes a mold-risk situation under IICRC S500 guidelines.
Table of Contents
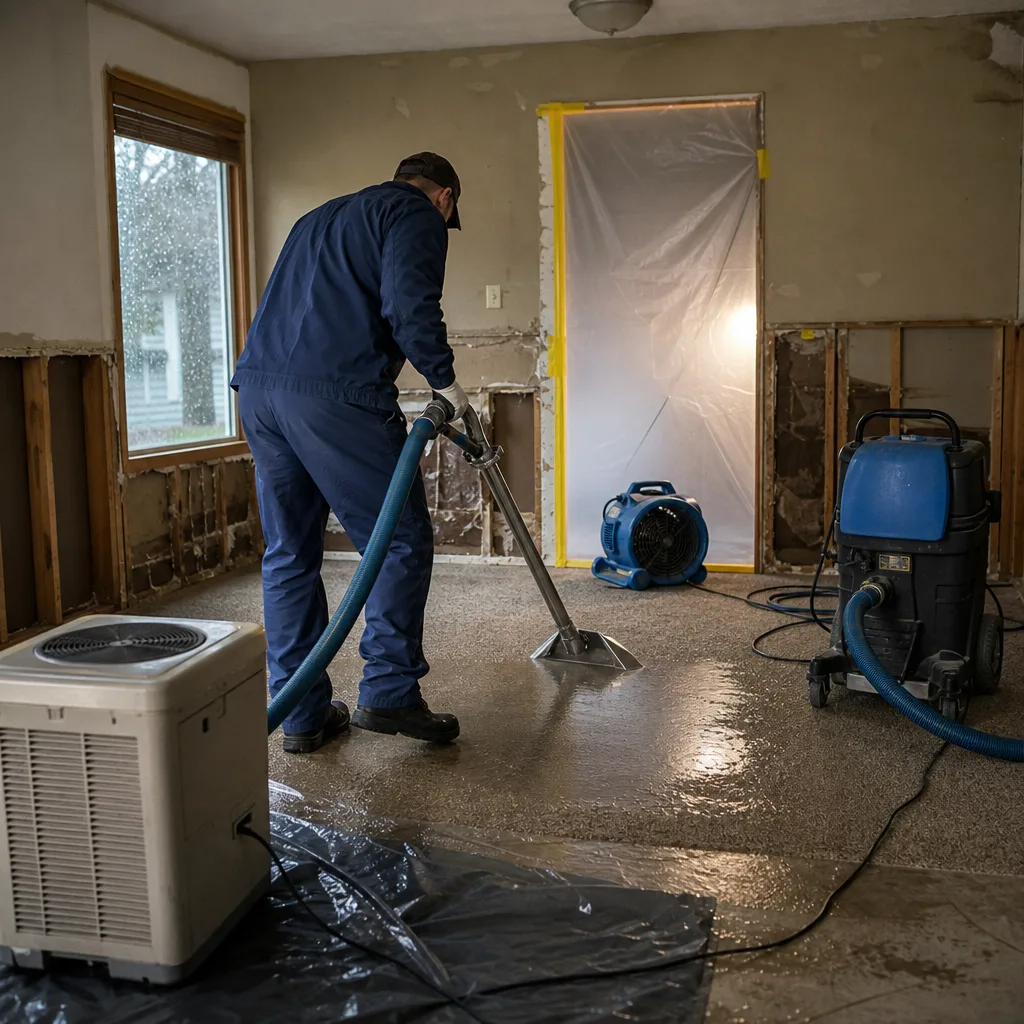
- Why Seattle’s Rain Calendar Changes Everything
- The Tools and Measurements That Matter
- A Seasonal Measurement Schedule for Seattle Homes
- The Five Seattle-Specific Failure Points
- Building Your Pre-Loss Documentation Log
- When a Reading Exceeds Threshold: The 48-Hour Rule
- Common Mistakes to Avoid
- When to Call a Professional
- Frequently Asked Questions
BeforeAfterWhy Seattle’s Rain Calendar Changes Everything
Generic maintenance checklists divide the year into quarters. That works in Phoenix. It fails in Seattle, where 75% of annual precipitation arrives between October and April, and where the June dry-out window offers a narrow chance to address accumulated moisture before the next cycle begins.
Our crews at DryMark Restoration Seattle home see the pattern in drying logs: homes that enter October with elevated moisture readings - even marginally elevated - rarely self-correct before January. The Pacific marine climate delivers not just volume but persistence. A south-facing roof in Ballard might see 38 inches of rain across 155 distinct wet days. Each wet day adds vapor pressure to the building envelope. Each dry day in June removes some fraction of it. The math is simple: more enters than exits across a typical year unless the homeowner intervenes.
This changes what “maintenance” means. In Seattle, maintenance is not a visual inspection for obvious leaks. It is a measurement protocol that tracks vapor pressure differential - the force that drives moisture from wet areas to dry ones - across the seasonal cycle. A homeowner who understands this calendar can time interventions for maximum effect: sealing crawl space vents in September, before the rains; running dehumidification during the November-to-January vapor pressure peak; and scheduling structural drying or repairs during June, when ambient conditions actually support evaporation. See our Complete Guide to Damage Restoration in Seattle for detailed timing strategies.
The Seattle Department of Construction and Inspections notes that many residential moisture complaints trace to homeowners who treated Pacific Northwest conditions as equivalent to drier climates. Building codes here assume specific ventilation and vapor barrier standards that only function when paired with active monitoring. A passive system in an active climate fails gradually, then suddenly.
Key takeaway: Your maintenance schedule should match Seattle’s rain calendar, not a generic quarterly template. Measure most frequently when moisture loads are highest. Act during the dry window when interventions actually work.
The Tools and Measurements That Matter
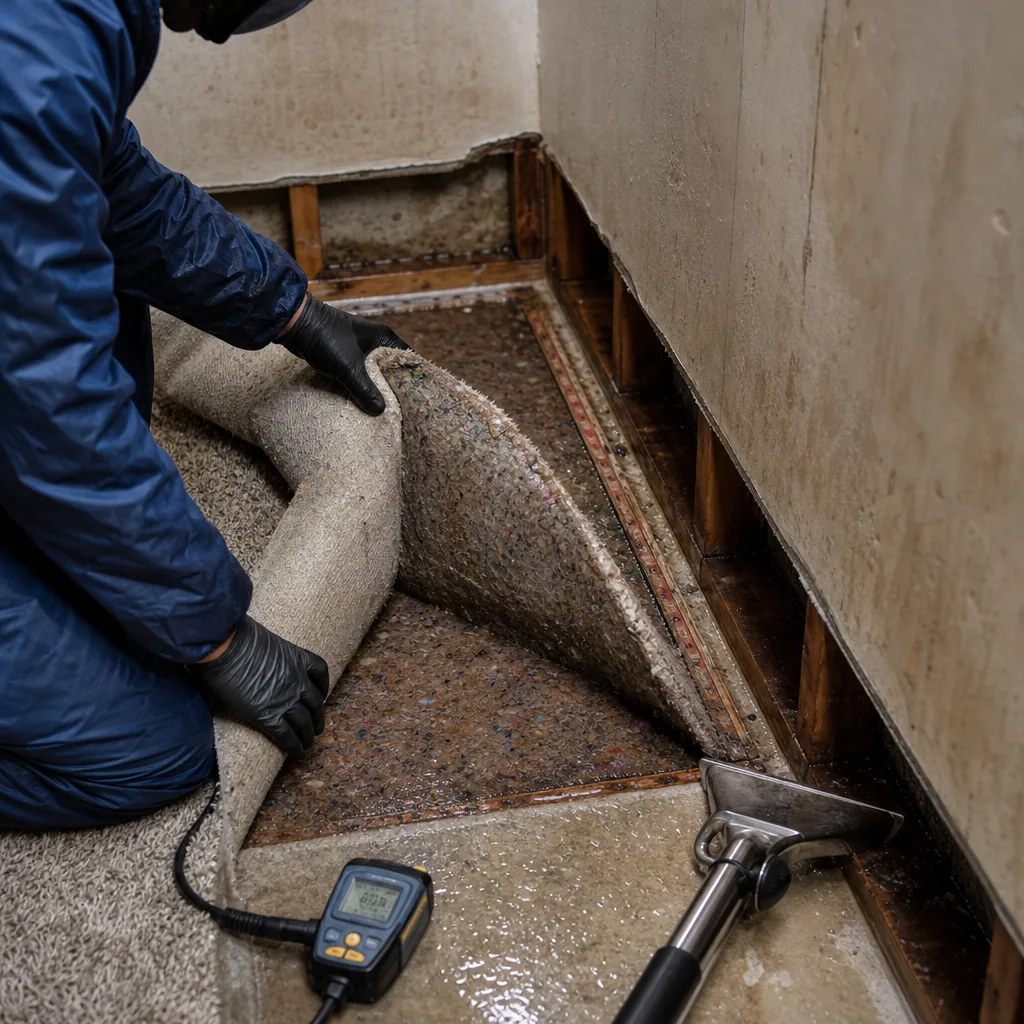
Precision requires specific tools. We recommend three instruments, total investment under $80, that produce readings insurers recognize and adjusters trust.
Pin-Type Moisture Meter ($25-$35)
The Protimeter Surveymaster or equivalent pin meter measures moisture content (MC) in wood and wood-based materials. Insert the pins, read the percentage. Critical for subfloors, rim joists, attic sheathing, and basement framing. Look for meters with reference scales for drywall and masonry - useful for basement wall checks.
Understanding the readings:
- Below 12% MC: Dry, stable wood. No action needed.
- 12-15% MC: Elevated. Monitor weekly. Identify source.
- 16-19% MC: Active risk zone. Begin source mitigation. Document with dated photo.
- Above 19% MC: Structural damage in progress. Professional assessment needed within 48 hours.
Thermo-Hygrometer ($15-$25)
Measures relative humidity (RH) and temperature. Essential for crawl spaces, basements, and attics. We recommend placing one in each zone, logging readings monthly. The relationship between RH and temperature matters: 70% RH at 55°F carries less absolute moisture than 70% RH at 75°F, but both support mold growth on organic surfaces. Psychrometric data - the study of moisture in air - tells us that controlling RH below 60% at any temperature prevents mold colonization on most building materials.
Infrared Thermometer ($20-$30)
Not for measuring moisture directly. For finding thermal anomalies that indicate moisture. Wet insulation conducts heat differently than dry. A cold spot on a ceiling in January might indicate attic air leakage, or it might indicate saturated insulation. The infrared thermometer flags where to place the pin meter. This two-step process - thermal scan, then pin verification - is how our technicians document moisture maps on every Water Damage Restoration in Seattle job.
What to Record
Every measurement needs four data points: date, location, reading, and condition notes. “Crawl space northeast corner, 10/15/2024, 67% RH, 18% MC on rim joist, visible efflorescence on foundation wall.” This sentence, photographed and dated, becomes evidence if a claim ever arises. The alternative - “I think it was damp last fall” - invites claim denial.
A Seasonal Measurement Schedule for Seattle Homes
This schedule aligns measurement frequency with actual moisture loading. Follow it precisely.
September: Baseline and Preparation
- Establish baseline readings in crawl space, basement, attic, and garage. Photograph each measurement location.
- Inspect and clean gutters. Verify downspouts discharge 6+ feet from foundation. In Seattle’s dense neighborhoods like Capitol Hill and Queen Anne, where lot lines are tight, this often means installing underground extensions - a common code requirement in hillside drainage zones.
- Seal crawl space vents if converting to conditioned space, or verify vent screens are intact and unobstructed if maintaining vented design.
- Test sump pump by pouring 5 gallons into pit. Verify float switch triggers. Check battery backup charge level.
October through February: Peak Monitoring
Measure weekly during this period. Seattle’s vapor pressure differential peaks in November and December, when warm interior air meets saturated exterior envelopes. The most damaging moisture movement happens invisibly, as vapor drives through walls and condenses on cold sheathing.
- Log RH and temperature in crawl space, basement, and attic.
- Pin-meter test rim joists, subfloor edges, basement framing, and attic sheathing at north-facing roof planes.
- Inspect roof-to-wall intersections after every wind-driven rain event. These intersections, especially under dormers, are the single most common leak origin in Seattle’s restoration files.
- Check laundry standpipe drain function. The combination of high-efficiency washers and older drain lines causes repeat overflows in neighborhoods with 1940s-1960s housing stock.
March through May: Transition Assessment
- Compare current readings to September baseline. Any elevation that hasn’t self-corrected indicates a chronic source, not seasonal variation.
- Schedule professional inspection for any reading that has remained above threshold for 30+ days.
- Photograph and document any staining, efflorescence, or material deformation that appeared during winter.
June through August: Intervention Window
This is Seattle’s only reliable drying period. Ambient conditions support evaporation. Contractors can schedule exterior work with confidence. Use this window for:
- Crawl space encapsulation or conditioning projects.
- Exterior grading corrections. Negative-grade driveways - where pavement slopes toward the foundation - are epidemic in Seattle’s postwar subdivisions and require dry conditions to regrade properly.
- Roof repairs and dormer flashing replacement.
- Installation of continuous mechanical dehumidification in chronically damp basements.
The Five Seattle-Specific Failure Points
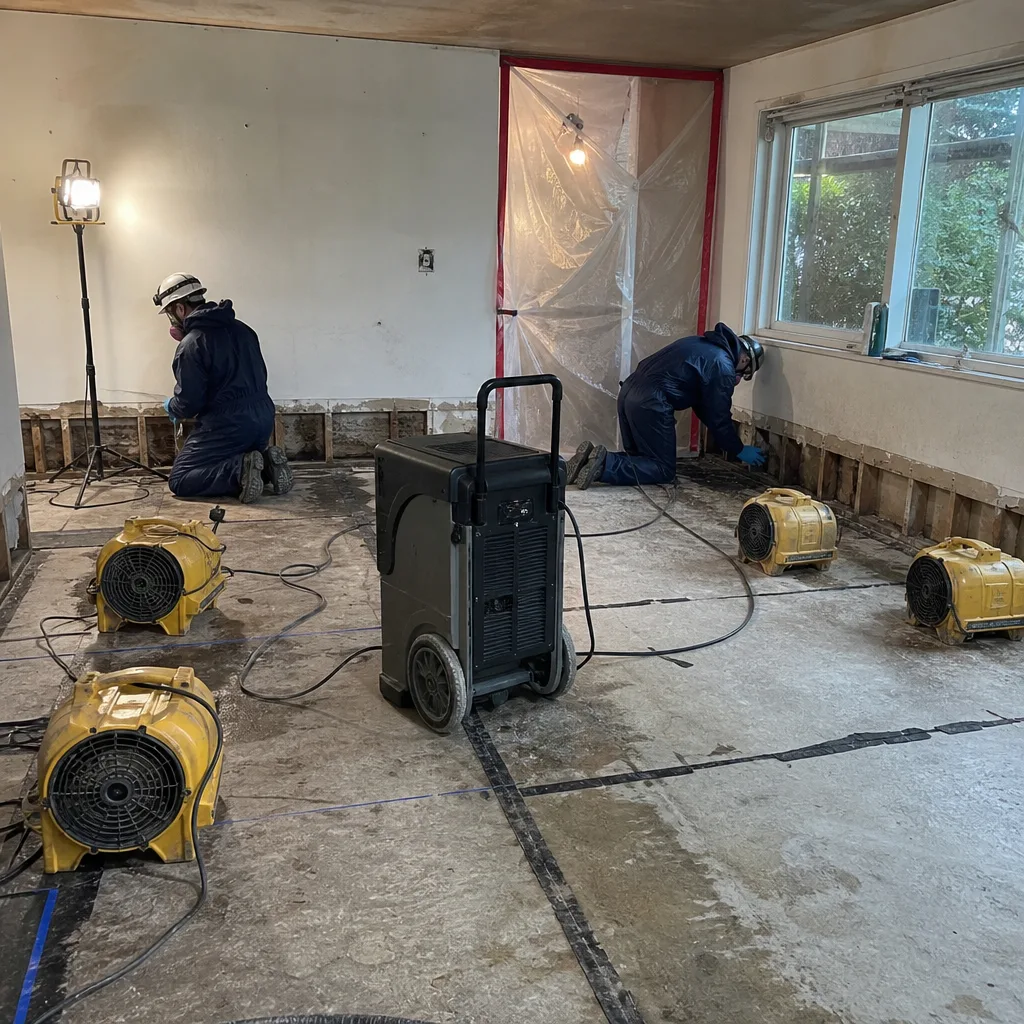
Our restoration files from 12,000+ jobs reveal five conditions that appear disproportionately in Seattle-area claims. Each is preventable with scheduled measurement and timely action.
1. Sump Pits Without Battery Backup
Seattle’s winter storm pattern includes wind-driven rain that frequently causes power outages. A sump pump without battery backup fails precisely when needed most. We see this in Broadview, Northgate, and any neighborhood with high water tables or former wetland fill. The fix: install a battery backup system with audible alarm, test monthly, replace battery every 3-4 years per manufacturer specification.
2. Negative-Grade Driveways and Walkways
Concrete and asphalt settle over decades. In Seattle’s rainy climate, even a half-inch of negative grade directs hundreds of gallons annually against the foundation. This is invisible until basement walls measure 18%+ MC. The fix: regrade during June-August, or install perimeter drain if regrading isn’t feasible. Document with before-and-after photos showing slope correction.
3. Uninsulated Crawl Space Rim Joists
Rim joists are the perimeter framing where the floor system meets the foundation. In Seattle’s unconditioned crawl spaces, these joists run cold in winter. Warm interior air leaks through gaps and condenses on the cold wood. We regularly find rim joists at 25-30% MC in January, with fungal growth established. The fix: air-seal with spray foam or rigid foam board, maintaining thermal boundary and vapor control. This is not a DIY project for most homeowners; improper installation traps moisture rather than controlling it.
4. Roof-to-Wall Intersections Under Dormers
Dormers create complex geometry where roof planes meet vertical walls. Flashing here fails predictably after 15-20 years in Seattle’s climate. The leak path is often indirect: water enters at the dormer, travels along rafters, and exits at a ceiling point far from the origin. By the time staining appears, sheathing and insulation are saturated. The fix: inspect these intersections annually with binoculars or from a ladder; look for lifted flashing, cracked sealant, or staining on dormer cheeks. Any suspicion warrants professional roof inspection.
5. Laundry Drain Standpipes
Modern high-efficiency washers discharge rapidly. Older 1.5-inch standpipes - standard in Seattle homes built before 1990 - cannot accept the flow rate. The result: overflow during every drain cycle, often hidden inside walls if the standpipe is boxed in. We see this in Wallingford, Green Lake, and Ravenna basements repeatedly. The fix: verify standpipe diameter matches washer specification; install air admittance valve if venting is inadequate; consider floor drain backup if standpipe is original to a pre-1990 home.
Building Your Pre-Loss Documentation Log
An insurer settling a water damage claim asks two questions: when did the condition start, and was it sudden or gradual? Gradual damage is often excluded. Your documentation log proves sudden onset, or at minimum establishes a maintenance history that supports your position.
What the Log Contains
- Dated photographs of each measurement location, with the meter reading visible in frame. Include a reference object (ruler, coin) for scale.
- Written readings in a bound notebook or digital file with edit history (Google Docs timestamp, spreadsheet version history).
- Weather context: note significant rain events, power outages, or temperature extremes within 48 hours of readings.
- Maintenance actions: gutter cleaning dates, sump pump tests, dehumidifier filter changes, any contractor visits.
How Insurers Use This
Adjusters review documentation to establish the “date of loss” and whether the homeowner took reasonable steps to prevent damage. A log showing monthly measurements, with a clear spike following a specific storm event, supports a sudden-damage claim. For cost context, see our Damage Restoration Cost Breakdown: The Seattle Homeowner’s Reference for 2026. A log showing elevated readings for six months with no action supports a denial for gradual damage and failure to mitigate.
At Back to Dry Restoration, we produce similar documentation on every job: daily moisture logs, photo records on every visit, written scopes with itemized pricing. This documentation turns restoration invoices into payable claims. Your personal maintenance log serves the same function for pre-loss conditions. It is evidence, not housekeeping.
Storage and Backup
Store digital copies in cloud storage with automatic backup. Physical notebooks in waterproof containers. The log is useless if destroyed in the same flood it documents. Email yourself monthly summary photos; the email timestamp becomes third-party verification.
When a Reading Exceeds Threshold: The 48-Hour Rule
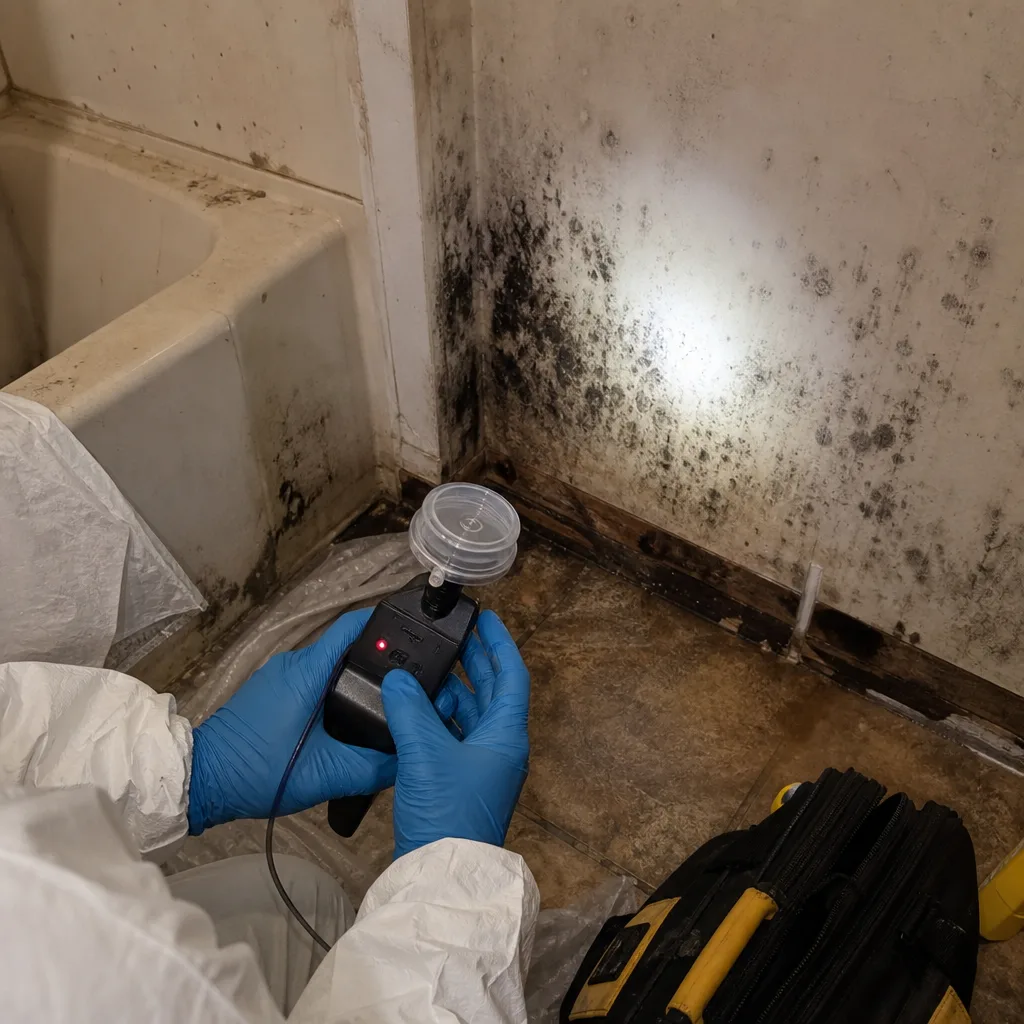
IICRC S500, the standard governing water damage restoration, establishes that Category 1 water (clean, from a sanitary source) becomes Category 2 (significantly contaminated) within 48-72 hours of contact with building materials. Category 2 becomes Category 3 (grossly contaminated) with additional time. This progression is driven by microbial growth, not visible dirt.
What this means for your maintenance protocol:
- Immediate action (0-24 hours): Identify and stop the moisture source. This might mean repairing a leak, running a dehumidifier, or extracting standing water. Document with photos and notes.
- Assessment window (24-48 hours): Re-measure. If readings haven’t dropped below threshold, professional drying is needed. Surface drying with household fans is insufficient for structural materials; moisture remains in wall cavities and subfloors.
- Professional intervention (48+ hours): Beyond 48 hours, assume mold risk. Do not attempt extensive drying without professional-grade equipment and monitoring. Psychrometric data - temperature, RH, specific humidity, vapor pressure - must be tracked to verify drying progress, not just surface dryness.
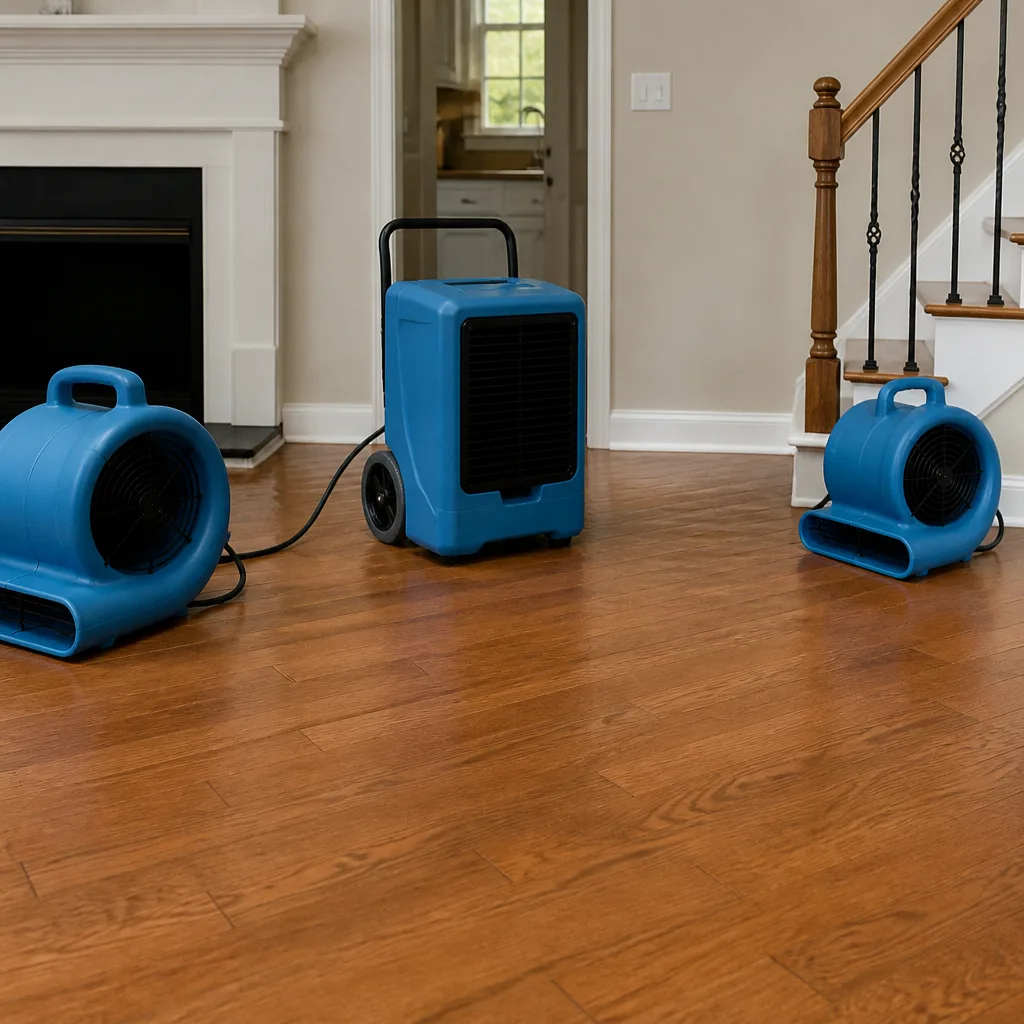
Our crews deploy Dri-Eaz and Phoenix dehumidification systems with Injectidry cavity drying attachments to establish controlled drying environments. Daily moisture logs track progress to IICRC S500 standards. This documentation becomes part of your claim file.
The 48-hour rule is not arbitrary. It is the boundary between a manageable drying project and a remediation project involving material removal, antimicrobial treatment, and possible reconstruction. The cost difference is substantial. Early measurement and rapid response protect both your structure and your claim.
Common Mistakes to Avoid
- Relying on visual inspection alone. By the time water stains appear, damage is advanced. In our Seattle files, the average visible stain represents 3-4 weeks of prior moisture accumulation. Measure before you see.
- Using a single annual checklist date. Seattle’s moisture loading varies 10-fold across the year. An April inspection misses the October entry point; a September inspection finds conditions that self-corrected in June. Match frequency to season.
- Ignoring the vapor pressure differential. Warm, humid interior air in winter drives moisture into cold exterior walls. Opening crawl space vents in January accelerates this. Understand what you’re ventilating, and when.
- Failing to document. “I checked it regularly” is not evidence. Dated photos with visible readings are evidence. The 15 minutes to photograph and log saves weeks of claim dispute.
- Delaying action on threshold exceedance. The 48-hour window is real. Homeowners who wait for “a few dry days” in January are waiting until April. Meanwhile, moisture propagates and mold establishes.
- DIY remediation of Category 2+ water. Household dehumidifiers lack the capacity for structural drying. Fans without dehumidification increase evaporation but raise RH, potentially spreading moisture to unaffected areas.
- Neglecting the June intervention window. Exterior repairs attempted in October fail or are deferred until spring, extending moisture exposure by months. Schedule major interventions for June-August.
When to Call a Professional
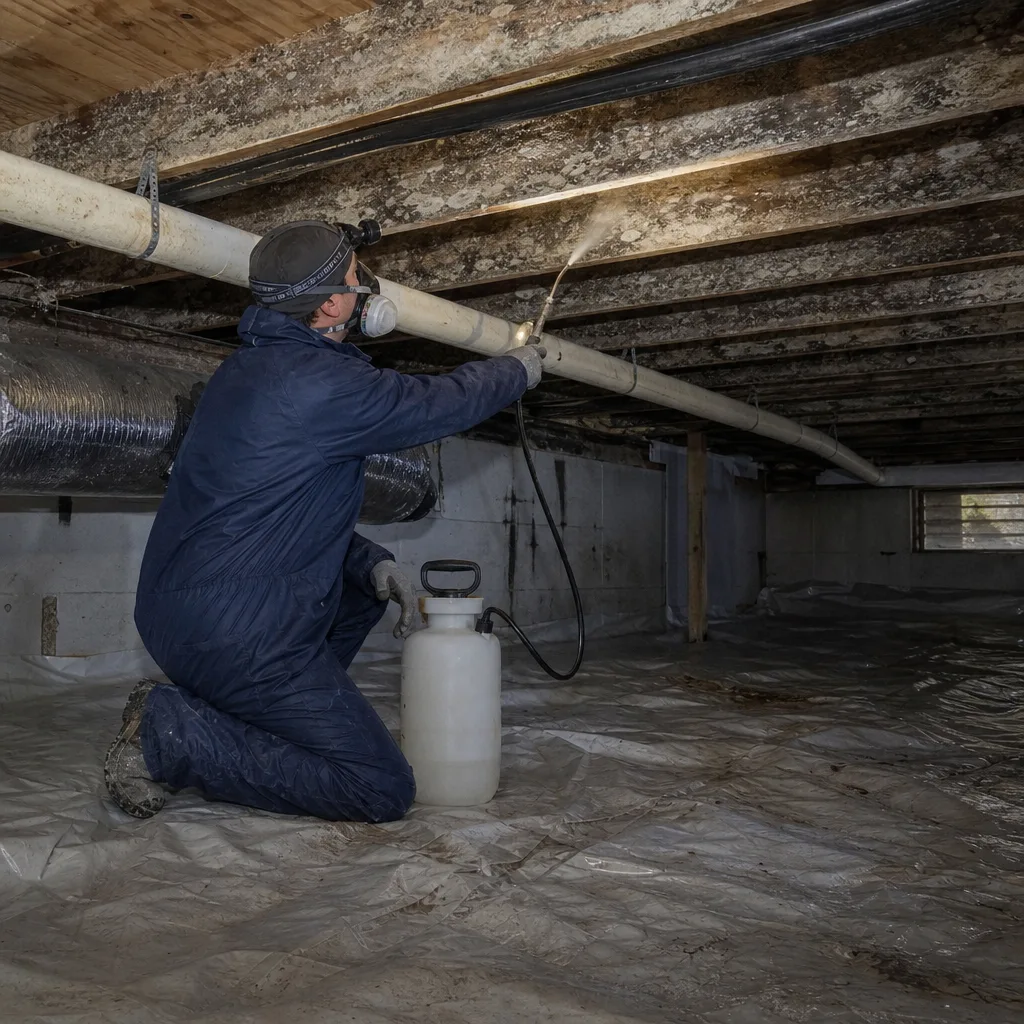
Call when any moisture content reading exceeds 19% in structural wood, when relative humidity remains above 60% despite source control, or when you cannot identify the moisture source within 24 hours. These thresholds indicate conditions beyond household management.
Specific scenarios warranting immediate professional assessment: standing water in crawl space or basement; visible mold growth on any surface; sewage backup or gray water intrusion; water contact with electrical panels or HVAC systems; and any moisture condition in a home you’re preparing to sell - disclosure requirements in Washington State make documentation essential.
DryMark Restoration Seattle home offers free estimates in Seattle. Our assessment includes pin-meter verification of your readings, thermal imaging to trace moisture pathways, and a written scope with itemized pricing before any work begins - Haven Standard, Clause 1. Call (425) 671-5392 to schedule. For Mold Remediation in Seattle or concerns about secondary damage, we provide the same documented assessment and written pricing.
Frequently Asked Questions
A reliable pin-type moisture meter costs $25-$35 at hardware stores throughout Seattle, including Ace Hardware locations in Ballard and Wallingford, or through online retailers with next-day delivery. Choose a model with wood scale (5-30% MC) and reference scales for drywall and masonry. Avoid combination devices that sacrifice accuracy for multiple functions.
A maintenance log does not guarantee coverage, but it significantly strengthens your position during claim adjustment. Insurers deny gradual damage claims; a log showing sudden onset after a specific event, with prior readings in normal range, supports sudden-damage classification. The log also demonstrates due diligence, which adjusters consider when evaluating mitigation obligations. For complex claims, Fire & Smoke Damage Restoration in Seattle and water damage documentation follow similar evidentiary standards.
Live person answers every call, 24 hours a day, 7 days a week, with no voicemail on emergency lines. Our assessment crew typically arrives within hours for active water intrusion, equipped with thermal imaging, pin meters, and extraction capability. Reconstruction and non-emergency work is scoped, scheduled, and priced in writing like any remodel - no same-day pressure on projects that require planning.
Household equipment manages surface water, not structural moisture. A shop vacuum extracts visible standing water but leaves saturation in subfloors, wall cavities, and insulation. Fans increase evaporation without removing moisture from air, potentially elevating RH in contained spaces. Professional drying uses psychrometric calculation to establish equilibrium - matching dehumidification capacity to air volume, temperature, and moisture load - verified with daily moisture logs. For readings above 16% MC, professional assessment is warranted.
The Haven Standard is Back to Dry Restoration’s operating protocol, established in 2011. Haven Standard, Clause 1: written price before any work starts, every time, with no exceptions. Haven Standard, Clause 2: documented photo record on every visit, included as standard deliverable. Haven Standard, Clause 3: 365-Day Done Right Promise - if it’s not done right, we make it right, as a signed guarantee, not a verbal assurance. These clauses exist because our founder, a former claims adjuster, built the company around the documentation gap that costs homeowners their claims.
Seattle’s marine climate is wetter than Portland’s, with more frequent light rain events and higher winter vapor pressure. Compared to Vancouver, Seattle has drier summers with more reliable evaporation potential in June-August. The key difference is persistence: Seattle’s rain is less intense but more continuous, creating steady moisture loading rather than episodic flooding. This favors preventive measurement protocols over reactive emergency response.
The Bottom Line
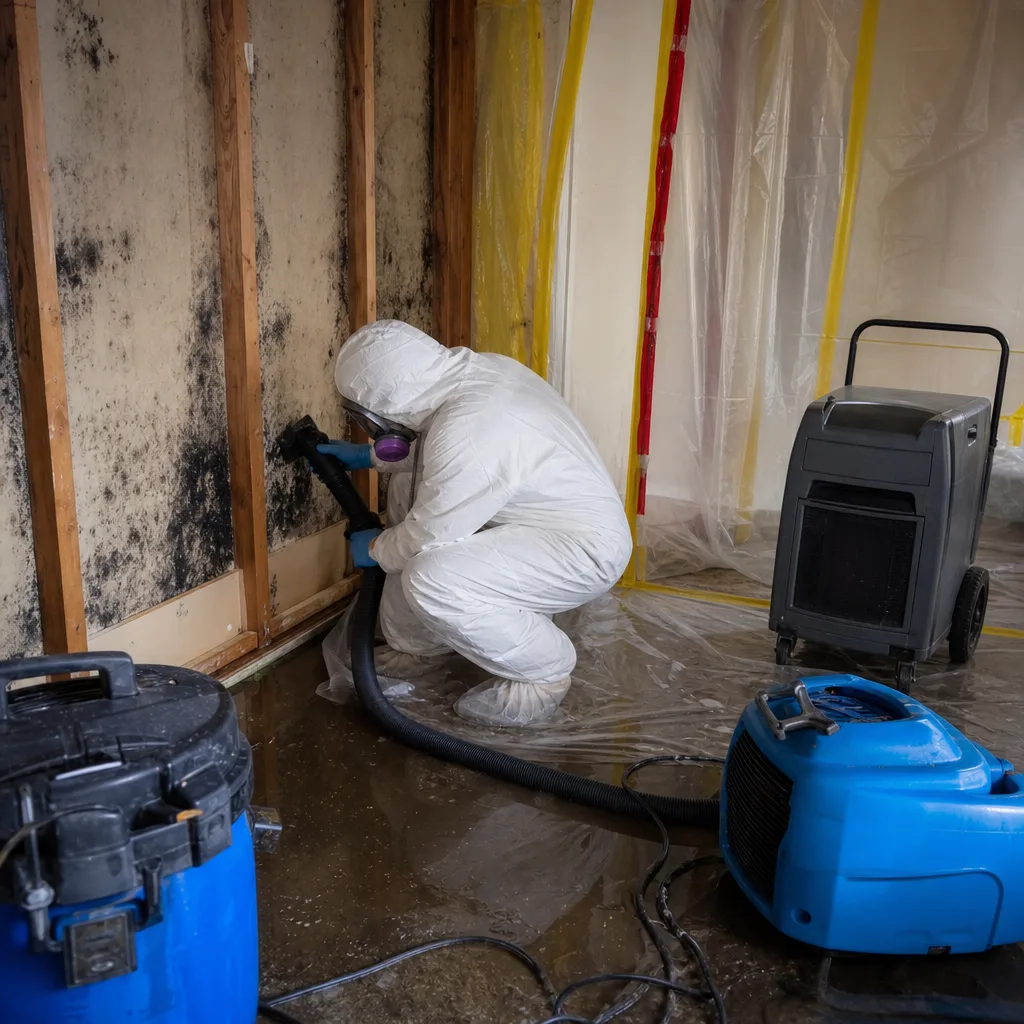
Water damage in Seattle is predictable. The rain calendar is known. The failure points are documented in thousands of restoration files. What remains variable is whether homeowners measure, record, and act before thresholds are breached. This checklist provides the protocol: specific tools, seasonal timing, numerical thresholds, and documentation standards that insurers recognize. Explore more guides & resources for year-round maintenance strategies. The investment is modest - under $80 in tools, two hours monthly during peak season - and the return is measured in prevented damage, supported claims, and the confidence that comes from evidence rather than hope. Start with September baselines. Maintain through winter. Act in the June window. And keep the log; it is your best protection if the worst occurs.
Written by Alicia Brennan, Owner at DryMark Restoration Seattle, serving Seattle since 2011.