
Last updated September 23, 2026
Free visual inspection and a written scope of work before any mitigation begins - photos, moisture readings, and drying logs go in your claim file
The scope we write is the scope we bill. Anything new gets shown to you, in writing, before we touch it.
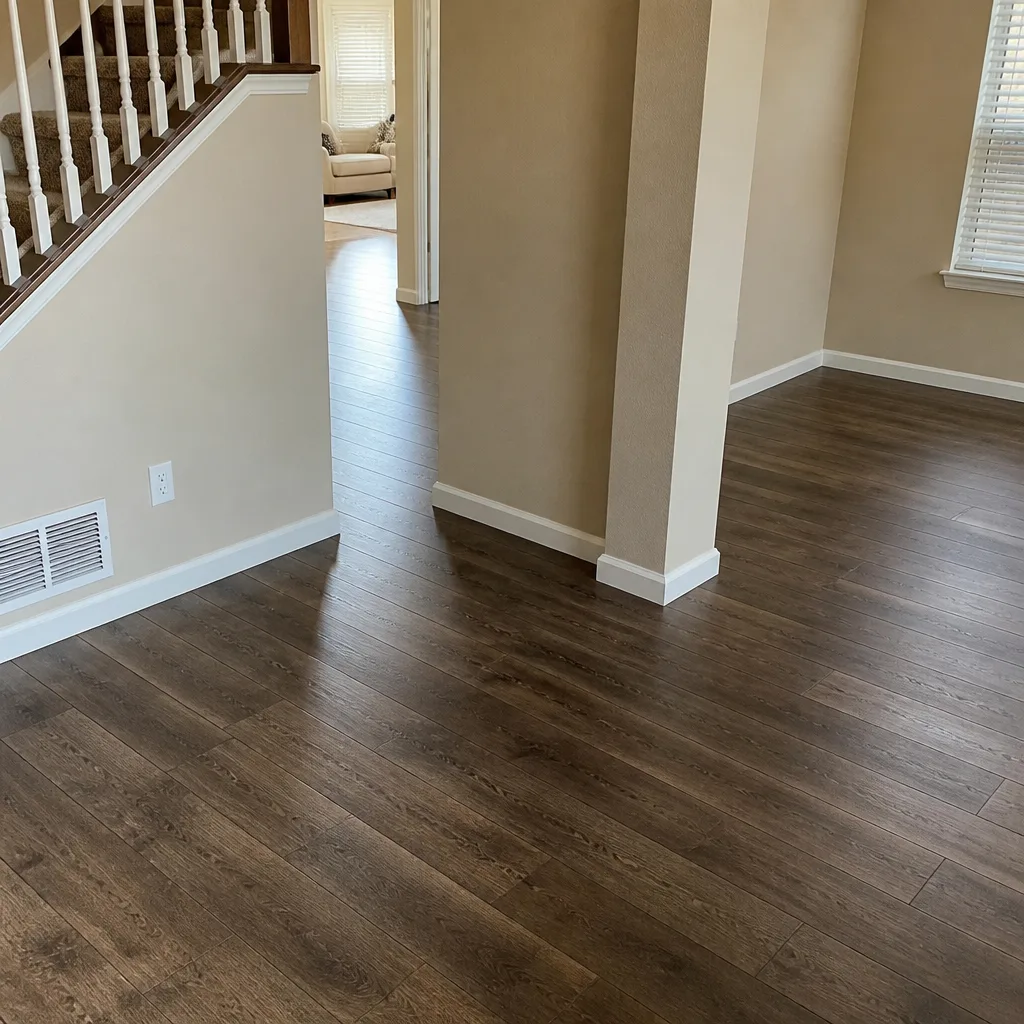
 Before
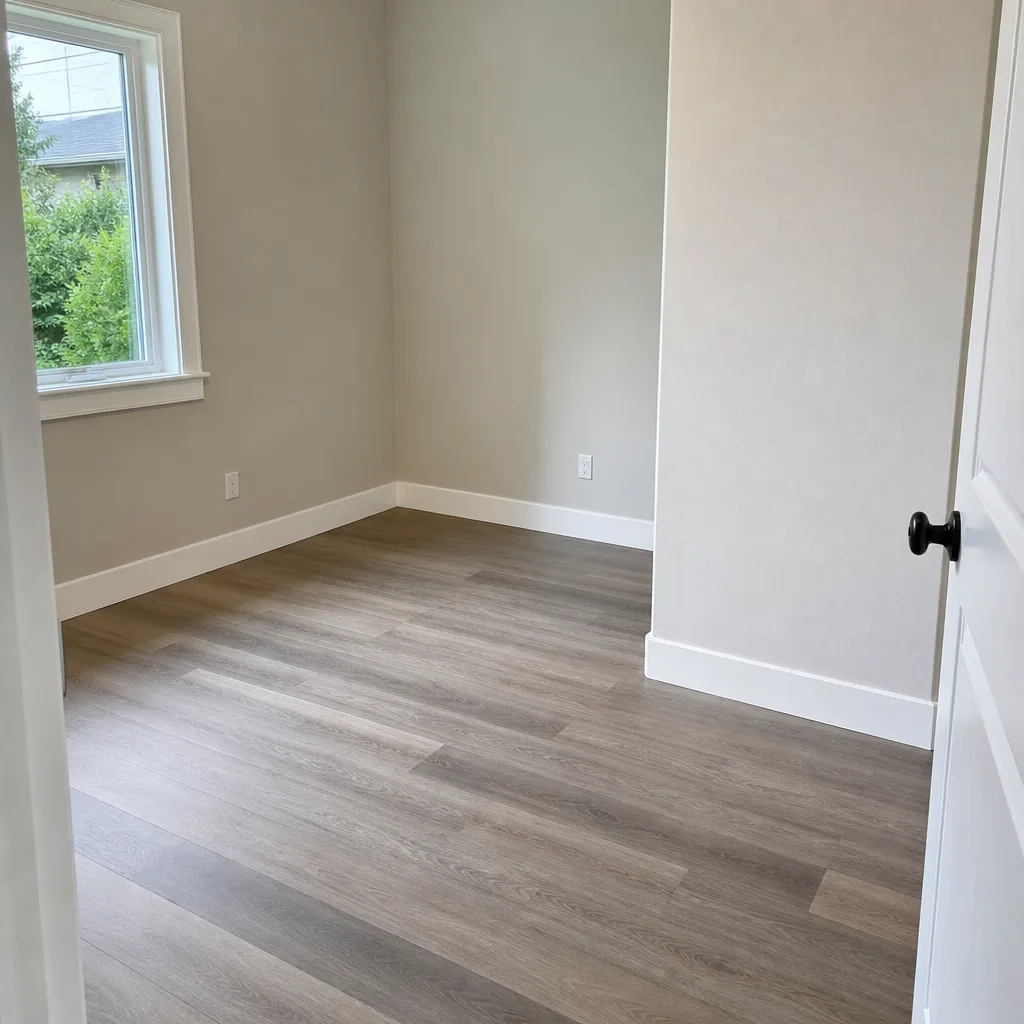 After
After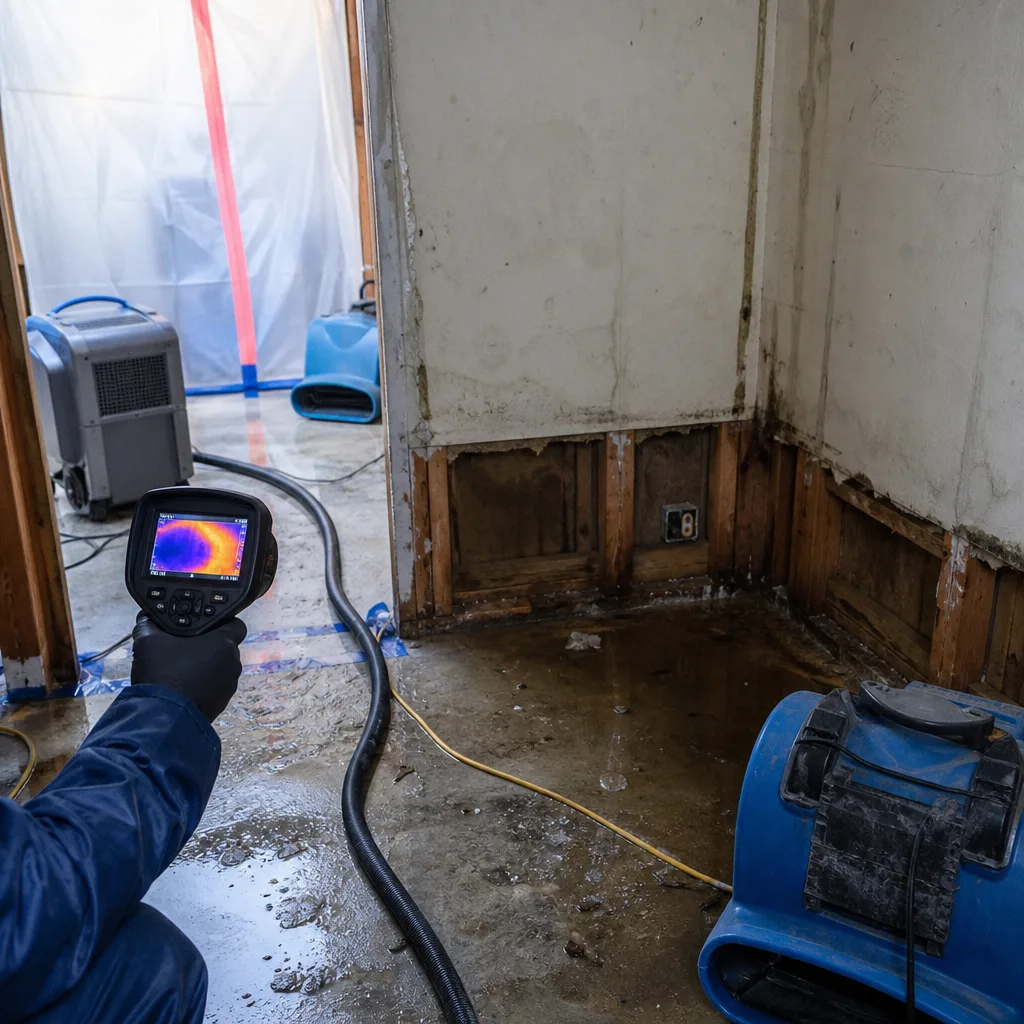 Before
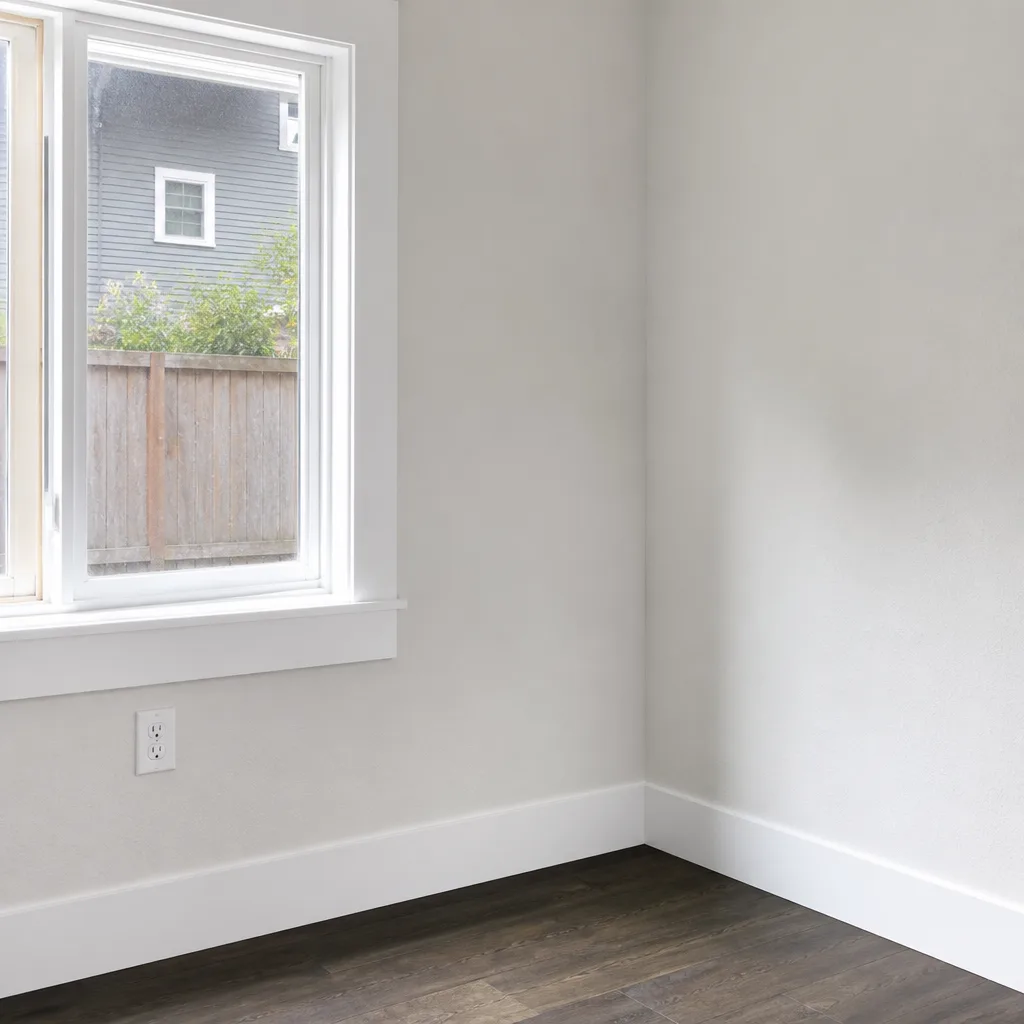 After
After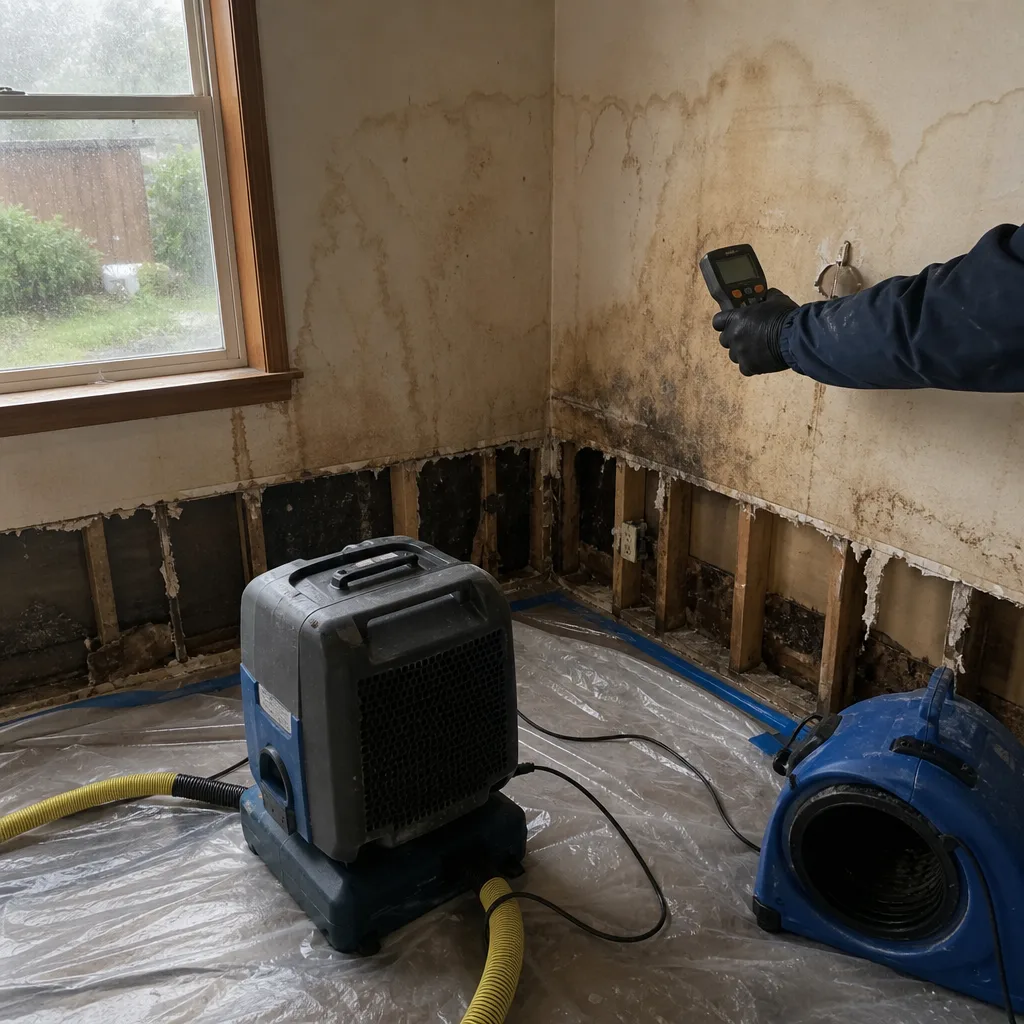 Before
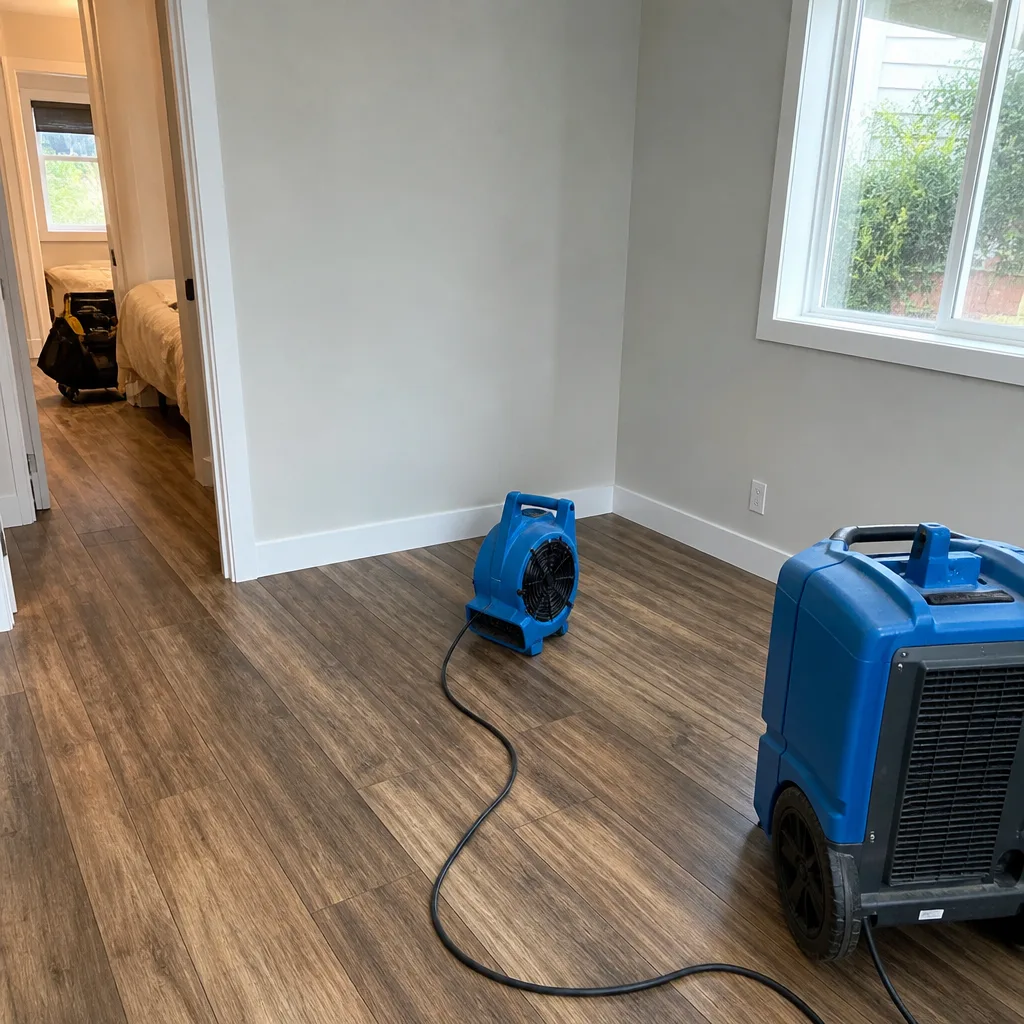 After
AfterDIY vs Professional Damage Restoration: The Seattle Homeowner’s Decision Guide
Washington’s standard HO-3 policy does not require you to hire a professional for water mitigation. It does require you to take “reasonable measures to protect the property from further damage” - and if you can’t prove with dated readings that your measures worked, your insurer can deny the subsequent mold claim as a failure of that duty. In Seattle’s climate, where indoor relative humidity sits at 65-75% for eight months of the year, a homeowner who dries their own water damage without producing a moisture log has created a claims liability that will follow the property for years. This guide will show you exactly when DIY restoration is defensible, when it is not, and how to produce documentation that satisfies both your insurer and your future buyer’s home inspector. For related guidance, see our How to Hire a Damage Restoration Contractor in Seattle: A Step-by-Step Guide.
Quick Answer
DIY damage restoration in Seattle is viable only for Category 1 water losses under 25 square feet where structural materials test below 19% moisture content and you can produce a dated, photo-supported moisture log. For everything else - Category 2 or 3 water, mold growth, fire and smoke damage, sewage backup, or any loss you intend to file with insurance - professional documentation is required to protect your claim and your property’s resale value. The cost difference between DIY and professional mitigation is often erased when an insurer denies a mold claim for inadequate documentation.
Table of Contents
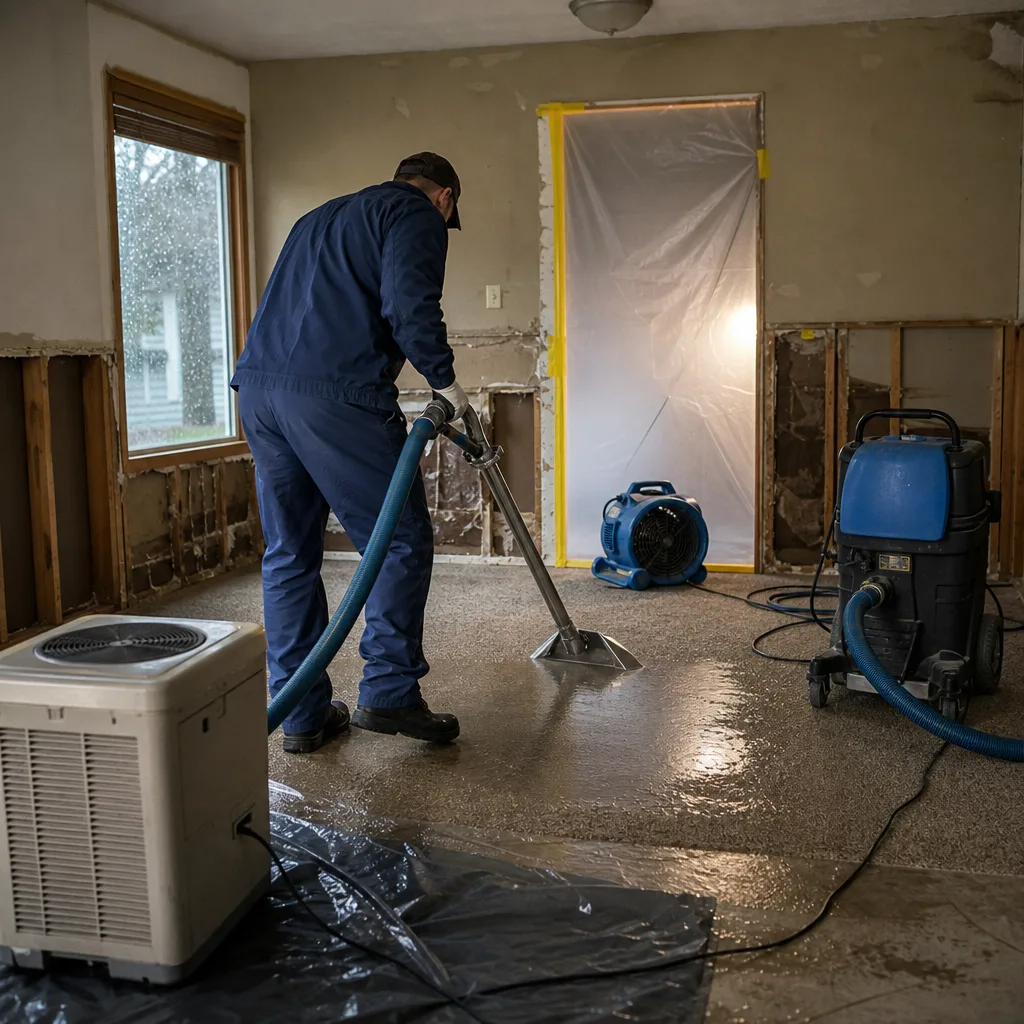
- The Three Variables That Determine If DIY Is Viable
- What DIY Moisture Documentation Actually Requires
- The Equipment Reality Check: Consumer vs. Professional Drying
- How Seattle’s Climate Changes the Math
- When Professional Documentation Is Non-Negotiable
- The Hybrid Approach: Smart Homeowner Strategy
- Cost Comparison: Real Numbers for Seattle
- Common Mistakes to Avoid
- When to Call a Professional
- Frequently Asked Questions
BeforeAfterThe Three Variables That Determine If DIY Is Viable
We have evaluated thousands of water losses in Seattle since 2011. The homeowners who successfully handle their own mitigation - meaning they dry the structure without creating secondary damage or claims problems - all pass the same three-part test. There is no fourth variable. Skill with tools, confidence with home repair, even previous restoration experience: none of these override the three factors below.
Variable 1: Water Category (IICRC S500 Classification)
The Institute of Inspection, Cleaning and Restoration Certification (IICRC) divides water damage into three categories based on contamination level. This classification determines personal protective equipment requirements, disposal protocols, and whether your insurer will accept self-performed work.
- Category 1 (“Clean Water”): Originates from a sanitary source - broken supply line, overflowing sink, rainwater intrusion. No significant risk if addressed within 24-48 hours. This is the only category where DIY is potentially defensible.
- Category 2 (“Gray Water”): Contains significant contamination - dishwasher discharge, washing machine overflow, sump pump failures. Contains nutrients that accelerate microbial growth. DIY is not recommended; documentation requirements escalate significantly.
- Category 3 (“Black Water”): Grossly contaminated - sewage backup, seawater flooding, rising groundwater. Pathogenic agents present. Professional remediation is required by health code in King County; self-performed work may violate rental agreements and condo bylaws.
Here is where Seattle homeowners specifically stumble: our older housing stock in neighborhoods like Wallingford, Phinney Ridge, and parts of West Seattle has galvanized steel supply lines that fail catastrophically. A burst pipe may start as Category 1, but if it saturates carpeting or flows through wall cavities for more than 48 hours, IICRC standards reclassify it to Category 2. Most homeowners do not reclassify their own water. They document it as “clean water from a pipe” and create a category error that invalidates their moisture log.
Variable 2: Affected Area in Square Feet
The threshold is 25 contiguous square feet of wet materials. Below this, a single consumer dehumidifier and adequate air movement can achieve equilibrium in 48-72 hours. Above this, the drying zone expands faster than consumer equipment can establish vapor pressure differential - the measurable force that moves moisture from wet materials into the air so the dehumidifier can capture it.
Measure carefully. A water line that wicked 18 inches up a drywall wall in a 10-foot hallway has affected 15 square feet of wall surface, but if the baseplate and subfloor are wet, the total affected area crosses 25 square feet quickly. We see homeowners in Capitol Hill condos measure only the visible stain and miss the lateral spread into the party wall - a measurement error that becomes a $14,000 mold remediation when the neighbor’s unit tests positive.
Variable 3: Structural Material Moisture Content
This is the go/no-go line. Structural materials - framing lumber, plywood subfloor, oriented strand board sheathing, engineered joists - must test below 19% moisture content (MC) using a calibrated pin-type meter for DIY drying to be viable. At 19% MC and above, wood-decay fungi can establish and propagate. Below 19%, the material is considered at equilibrium with normal indoor conditions.
The 19% threshold is not arbitrary. It is the point at which the water activity level in wood supports fungal growth. A homeowner with a $35 moisture meter from a hardware store can take this reading. The problem is that most do not know they need to, do not know where to place the pins for a representative reading, and do not record the measurement in a format that will survive a claims review two years later.
DIY viability summary: Category 1 water + under 25 square feet + structural materials below 19% MC = potentially defensible. Fail any one variable, and you need professional equipment, professional documentation, or both.
What DIY Moisture Documentation Actually Requires
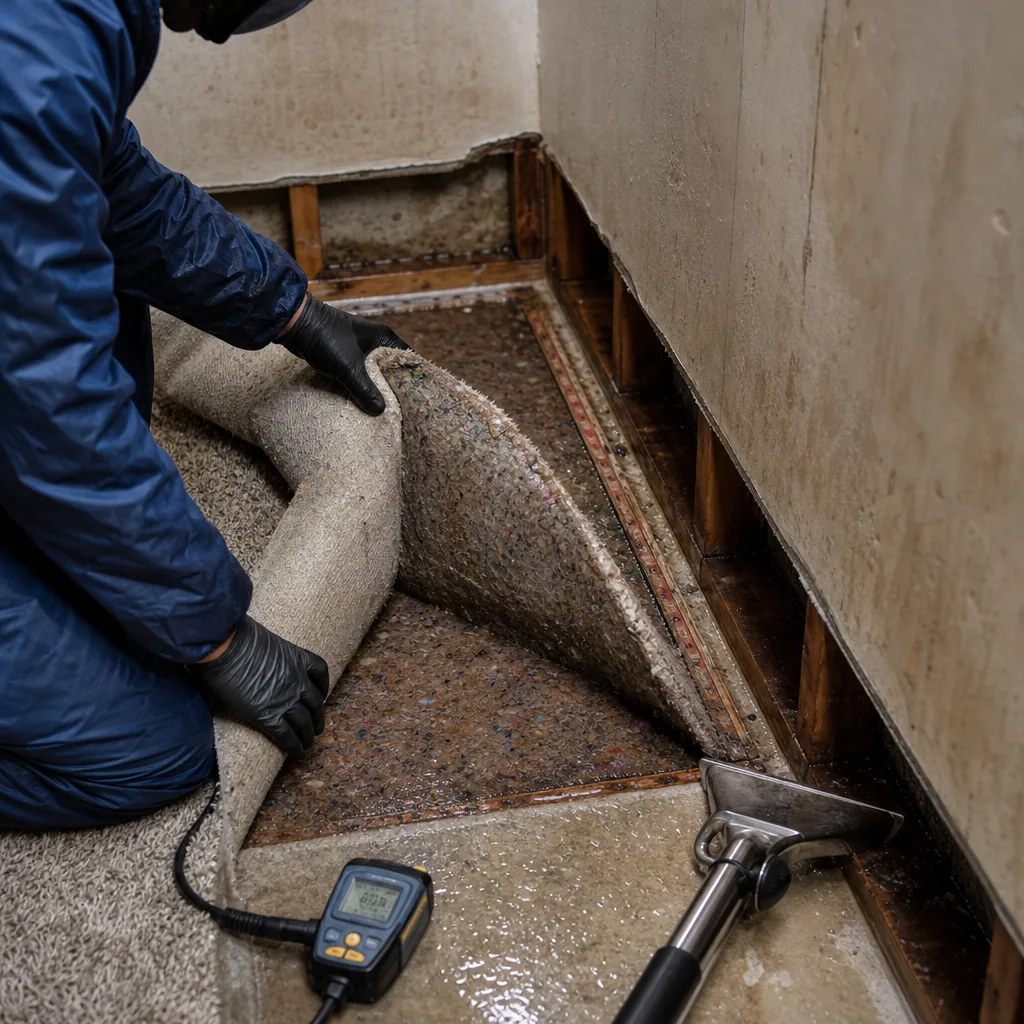
If you proceed with DIY mitigation, understand that your moisture log is a legal document. It will be requested by your insurer if you file a claim, by the buyer’s inspector when you sell, and by your neighbor’s attorney if moisture migrates. A handwritten note on a napkin is worse than no documentation at all - it proves you attempted documentation and failed.
Required Equipment
- Calibrated pin-type moisture meter. We recommend the Delmhorst BD-2100 or equivalent. Note the serial number and calibration date on every log. Pinless meters measure surface moisture only and are not acceptable for structural materials.
- Thermohygrometer. Measures temperature and relative humidity. Required to calculate vapor pressure differential and determine if your drying environment is actually achieving psychrometric goals.
- Digital camera or smartphone with date/time stamp enabled. Not for social media. For evidence.
Required Documentation Protocol
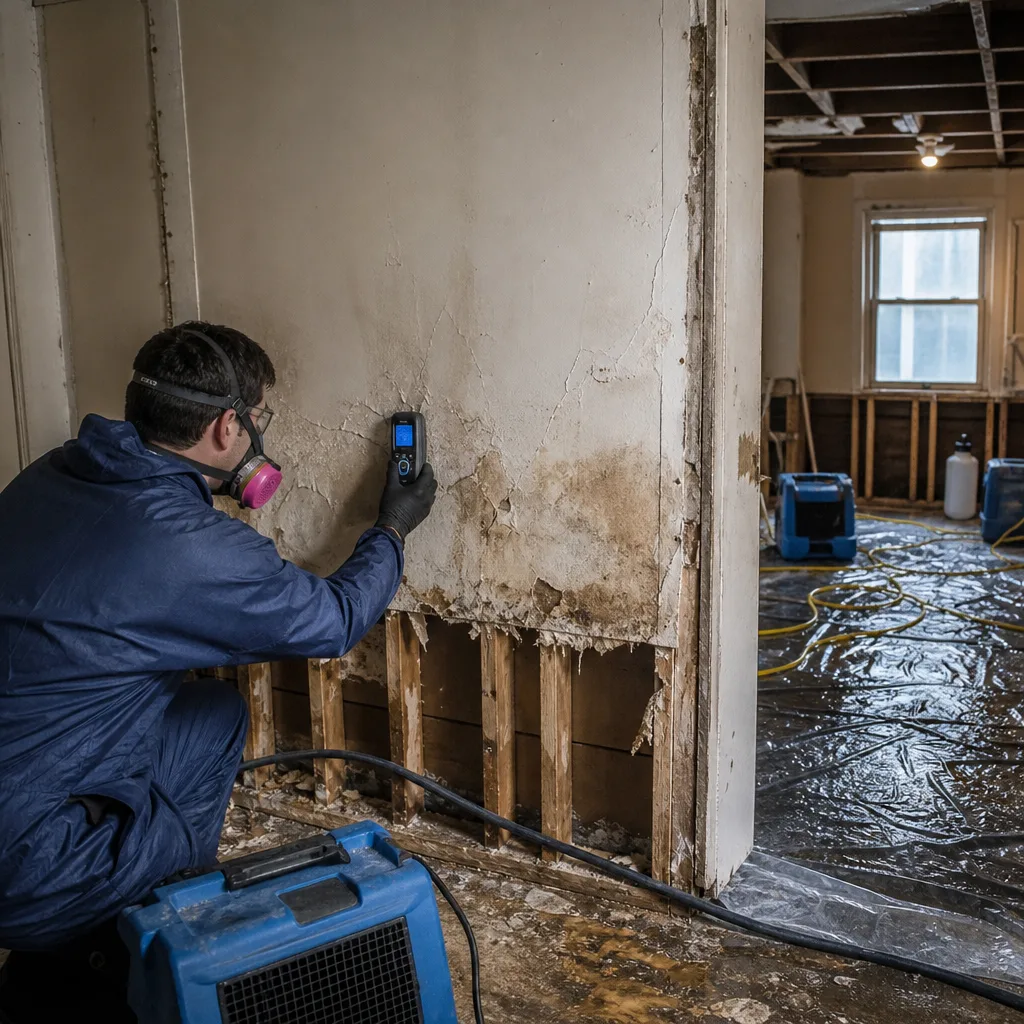
- Take moisture readings at minimum one point per 25 square feet of affected area. For a 20-square-foot bathroom, that means one reading in the wettest visible area and one in an adjacent “dry” area for baseline comparison.
- Record readings by date and time, with technician name (your name), meter model, and calibration date.
- Photograph meter placement showing the pins embedded in the material and the digital readout visible. One photo per reading.
- Record ambient conditions: temperature, relative humidity, and calculated vapor pressure differential if your meter provides it.
- Continue daily readings until affected materials reach within 2 percentage points of dry standard (typically 10-12% MC for softwoods in Seattle’s climate).
- Retain records for 7 years minimum - the statute of limitations for construction defect claims in Washington.
We have reviewed homeowner moisture logs in claims disputes. The most common failure is taking one reading on day one and declaring “it felt dry” on day three. The second most common is photographing the meter but not the material location, making the reading unverifiable. The third is using a pinless meter on drywall and reporting surface moisture as structural moisture.
The Haven Standard, which governs every job we perform, requires daily moisture logs with psychrometric data, photo documentation on every visit, and a written drying goal established before equipment is placed. A homeowner performing DIY mitigation should hold themselves to the same standard if they intend to defend their work to an insurer or a court.
The Equipment Reality Check: Consumer vs. Professional Drying
This is where most DIY cost calculations fail. A homeowner sees a $250 dehumidifier at a hardware store, compares it to a $2,800 professional mitigation bill, and concludes DIY saves money. The comparison is false because the equipment is not comparable in capacity, efficiency, or documentation value.
The Numbers
A consumer-grade dehumidifier rated at 70 pints per day (PPD) at saturation removes approximately 22-25 PPD at AHAM conditions (80°F, 60% RH) - the standard used to compare professional equipment. At Seattle’s typical indoor conditions of 65°F and 70% RH, actual output drops to 15-18 PPD.
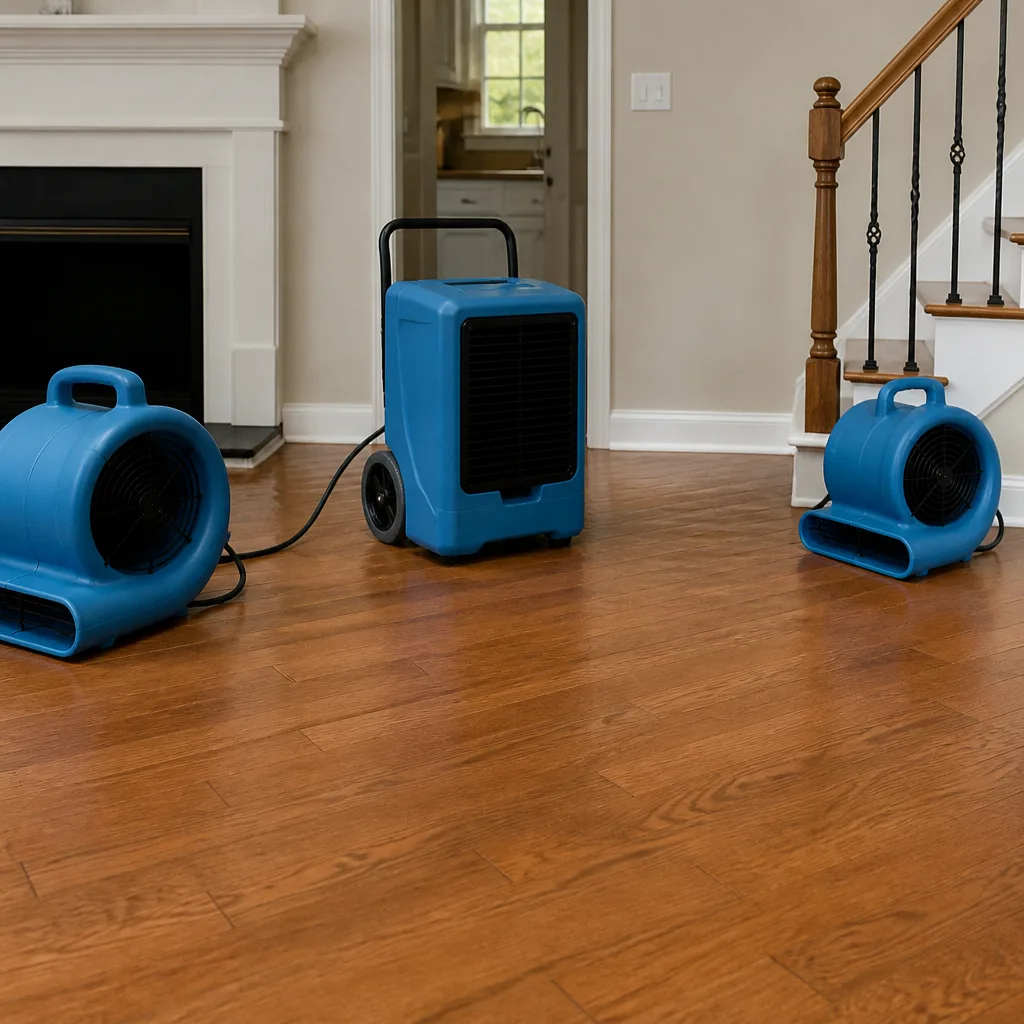
A professional low-grain refrigerant (LGR) dehumidifier, such as the Phoenix 200 MAX or Dri-Eaz LGR 7000XLi, removes 130-150 PPD at AHAM conditions. At Seattle indoor conditions, output holds at 90-110 PPD because LGR technology pre-cools incoming air to extract moisture below the dew point that stalls consumer units.
The ratio is roughly 3:1. A professional LGR unit removes three times the moisture of a consumer dehumidifier in the same conditions. This means a drying project that takes 3 days with professional equipment takes 9 days with consumer equipment - assuming the consumer unit runs continuously, which it cannot because its reservoir requires manual emptying or a gravity drain that most homeowners do not configure properly.
Air Movement and Containment
Professional drying requires directed air movement, not just a box fan in the doorway. Axial air movers like the XPOWER P-230AT or B-Air Grizzly produce 2,000-3,000 CFM (cubic feet per minute) at a focused velocity that creates evaporative transfer at the wet surface. A household fan produces 800-1,200 CFM diffused across a wide angle. Without sufficient air velocity, moisture remains bound to the material surface and drying stalls.
For wall cavities and hardwood floors, professional systems use injection drying - the Injectidry HP60 or similar - that forces dry air into sealed cavities through small injection ports. No consumer equivalent exists. A homeowner with wet plaster or hardwood over a plywood subfloor cannot dry the assembly without invasive access or injection equipment.
The Hidden Cost of Extended Drying
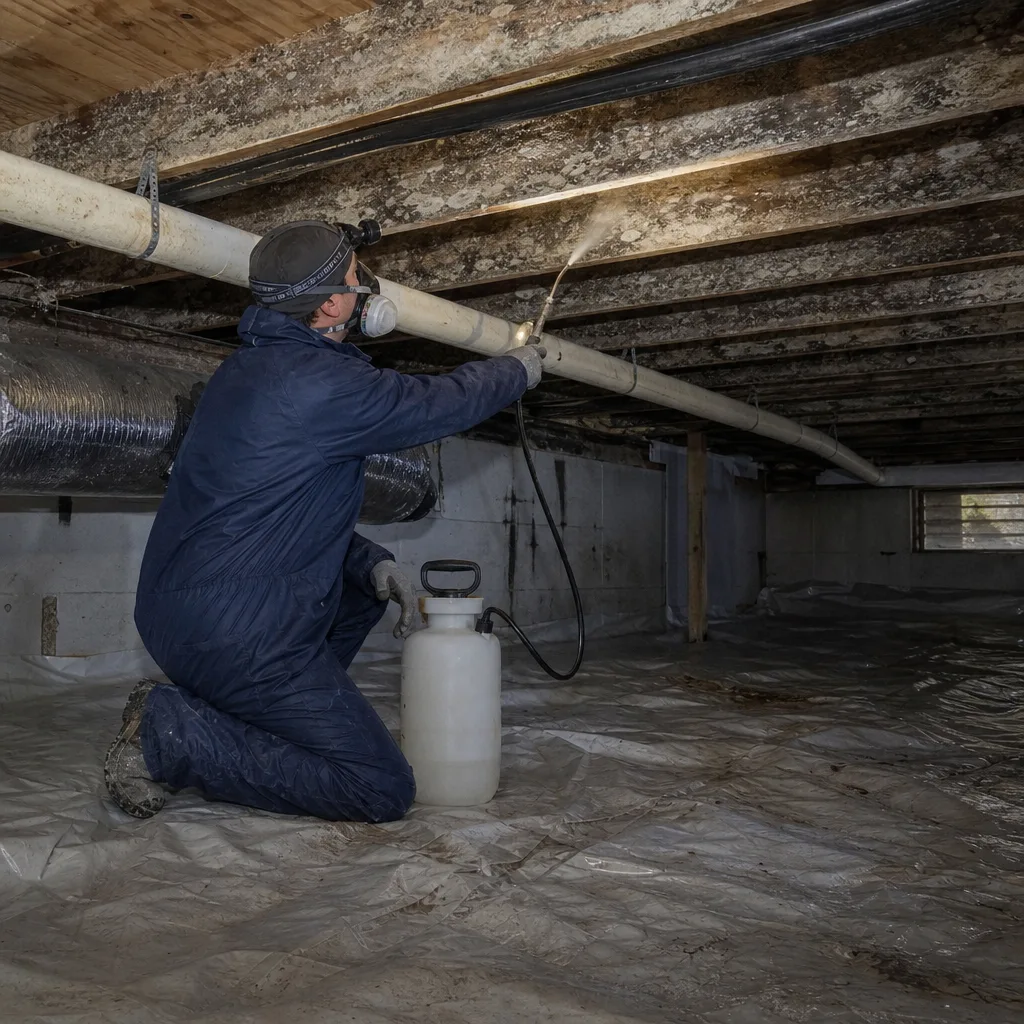
Every additional day of drying time increases risk. Microbial growth can establish in 48-72 hours on organic materials at moisture content above 16%. A DIY timeline that runs 9 days instead of 3 crosses this threshold multiple times. The homeowner who “saved” $2,000 on mitigation equipment spends $8,000-$15,000 on mold remediation and still must produce documentation proving the mold resulted from the original loss, not from their delayed drying.
We have documented this sequence in homes from Ballard to Beacon Hill. The pattern is consistent: extended DIY drying, visible mold at day 10, insurer denial for failure to mitigate promptly, homeowner pays remediation out of pocket.
How Seattle’s Climate Changes the Math
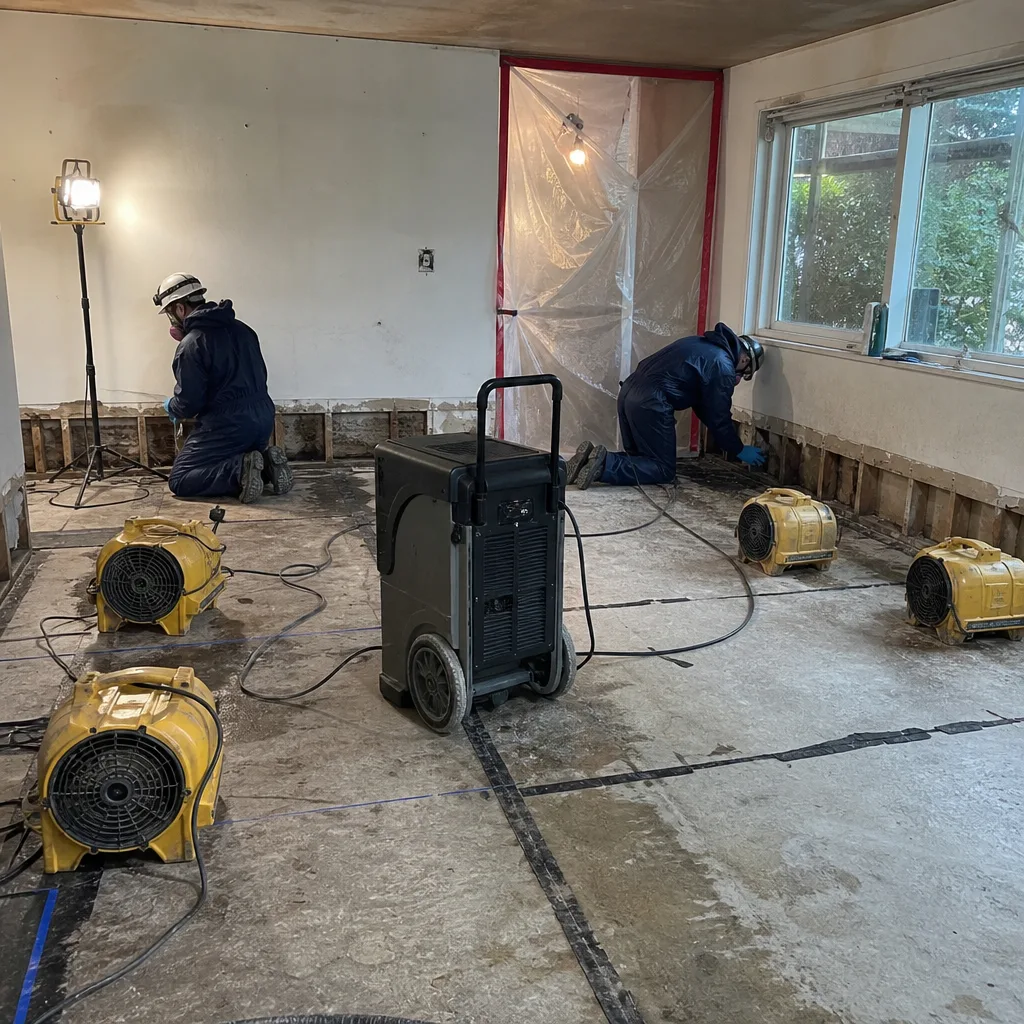
Seattle’s maritime climate is not a footnote. It is a primary variable in every drying calculation.
Year-Round Humidity Load
Seattle’s average outdoor relative humidity ranges from 73% in January to 75% in November, with summer lows around 65%. Indoor humidity in unconditioned spaces tracks outdoor conditions closely. A dehumidifier operating in a Seattle basement in February is trying to dry air that is already near saturation. The vapor pressure differential - the driving force of drying - is minimal.
Professional LGR units overcome this by cooling air below the dew point, condensing moisture that consumer units cannot extract. In our experience, Phoenix and Dri-Eaz LGR units maintain effective drying in Seattle basements where consumer units simply recycle humid air.
The “Seattle Freeze” and Structural Temperature
Seattle’s mild winters mean homes rarely freeze, but they also mean structures stay cold and damp. Concrete slab foundations in neighborhoods like Queen Anne and Magnolia never warm above 55°F in winter. Wood framing in contact with slab edges stays at 60-65°F. At these temperatures, evaporation rates are 40-50% lower than the 80°F AHAM standard used to rate consumer equipment.
A homeowner in a 1920s Craftsman in Ravenna with a dirt-floored crawl space faces conditions that professional equipment is designed for and consumer equipment is not. The crawl space may be 48°F and 85% RH. No consumer dehumidifier will operate effectively there.
Rain Intrusion Patterns
Seattle’s wind-driven rain from the southwest penetrates siding, window flashings, and roof penetrations in ways that differ from snow-belt climates. We see chronic moisture in wall cavities from failed kick-out flashings above deck attachments, a detail that became code-required only in 2003. Homes built before then in neighborhoods like Green Lake and Laurelhurst have systematic vulnerabilities that a homeowner cannot assess without invasive inspection and moisture mapping.
A DIY approach that addresses visible water without investigating the cavity may dry the surface while leaving sheathing at 28% MC - a condition we document regularly in pre-purchase inspections.
When Professional Documentation Is Non-Negotiable
Even when the physical work appears simple, certain scenarios require professional documentation to protect legal, financial, or warranty interests. These are not recommendations. They are conditions where self-performed work, however competent, creates downstream liability.
Scenario 1: Any Loss You Intend to Claim
Your insurer is not obligated to accept your word that drying was successful. The burden of proof is on you. A professional mitigation company produces a third-party drying log with calibrated equipment, daily readings, and photo documentation. This is evidence. Your handwritten notes are not.
We have reviewed denied claims where homeowners performed competent DIY drying but could not produce a moisture log with calibration dates. The insurer’s position: “We cannot verify the accuracy of uncalibrated measurements.” The homeowner paid for mold remediation that the policy would have covered with professional documentation.
Scenario 2: Homes Less Than 10 Years Old With Manufacturer Warranties
New construction in Seattle - particularly in South Lake Union, Denny Triangle, and the redeveloped areas of Central District - carries builder warranties, manufacturer warranties on engineered materials, and sometimes 10-year structural warranties. These warranties typically require “qualified professional repair” for water damage. Self-performed mitigation may void warranty coverage on flooring, cabinetry, or structural components.
Read your warranty documents. The phrase “qualified professional” appears in most. It does not mean “competent homeowner.”
Scenario 3: Shared Walls in Condos and Townhouses
Seattle’s condominium market depends on party wall integrity. A moisture event affecting a shared wall creates potential liability to adjacent units. Your HOA’s master policy, your unit policy, and your neighbor’s unit policy may all become involved. Documentation from a licensed, insured restoration contractor establishes a clear chain of custody for moisture data. Self-performed work does not.
We have mediated disputes in Capitol Hill and Belltown condos where DIY drying in one unit led to mold in the adjacent unit six months later. Without professional documentation of the original loss, liability falls on the homeowner who performed the work.
Scenario 4: Rental Properties
Washington’s Residential Landlord-Tenant Act requires landlords to maintain premises in “reasonable repair.” A water loss in a rental unit that is not professionally documented creates exposure if a tenant later claims health effects from mold. Professional documentation establishes that the landlord met the duty of care. DIY work, even if effective, does not.
Scenario 5: Fire and Smoke Damage
Fire damage is never DIY-appropriate. The combustion process creates toxic residues whose composition varies by burned materials. Synthetic materials produce acidic residues that continue to degrade surfaces until chemically neutralized. Protein fires from kitchen incidents leave nearly invisible residues that carry persistent odor. Professional fire and smoke damage restoration in Seattle requires thermal fogging, ozone treatment, or hydroxyl generation - equipment not available to consumers.
Smoke damage documentation is also claims-critical. Insurers require itemized content inventories with pre-cleaning photos, cleaning method by item category, and post-cleaning verification. This is specialized work.
The Hybrid Approach: Smart Homeowner Strategy
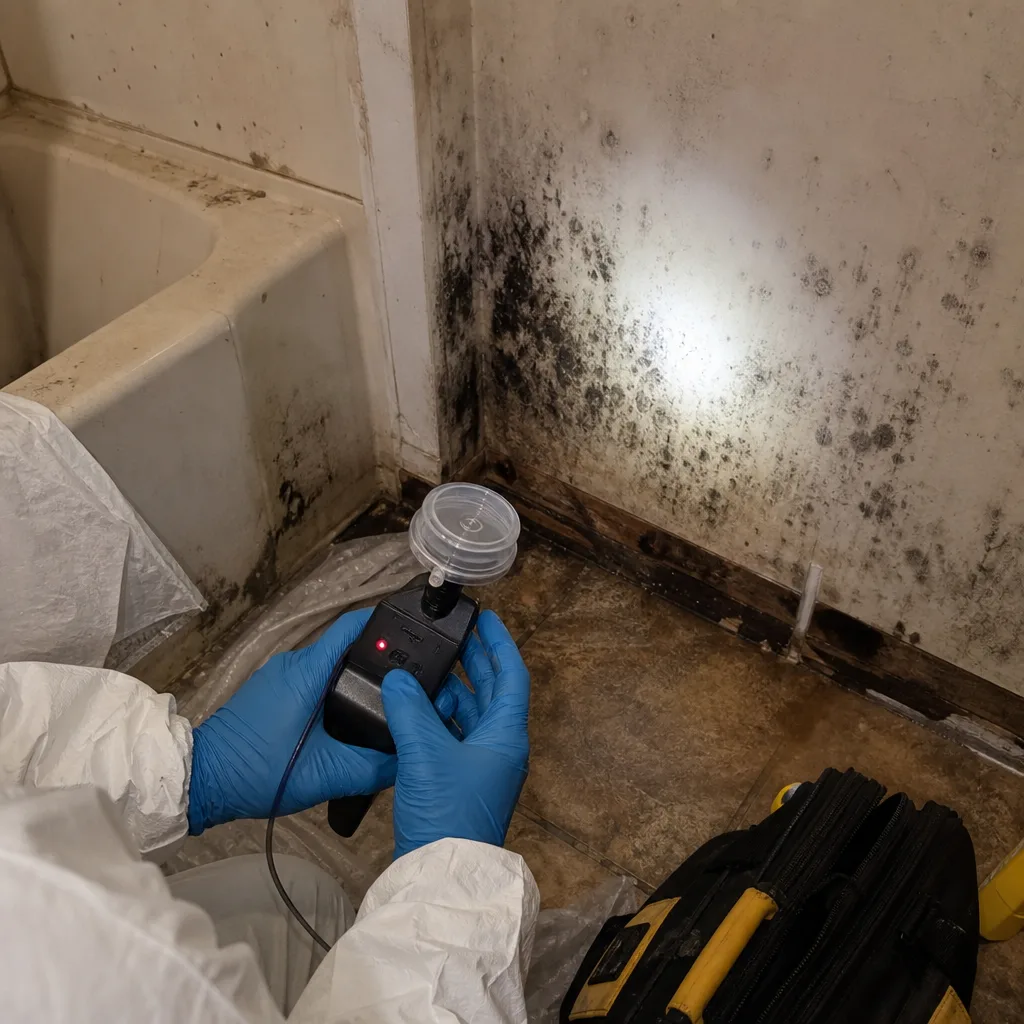
There is a middle path that preserves cost control while producing defensible documentation. We recommend it for the capable homeowner who understands the three-variable test and wants to minimize professional fees without assuming full claims liability. See our Water Damage Restoration Maintenance Checklist for Seattle Homeowners for a practical framework.
The Strategy
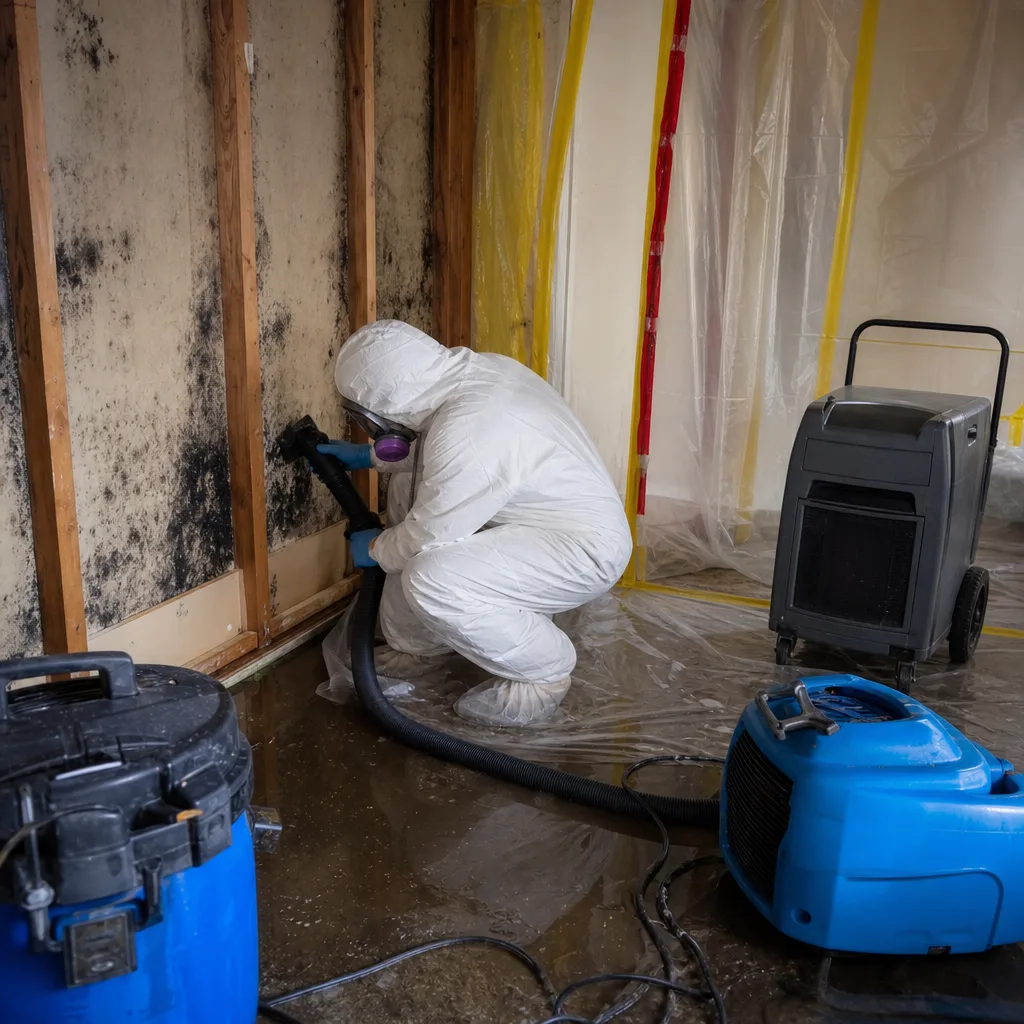
- Perform immediate extraction and source control yourself. Remove standing water with a wet/dry vacuum. Remove wet carpet pad (it is disposable; carpet may be salvageable). Cut wet drywall at 24 inches above the visible water line to open wall cavities for air movement. These are physical tasks requiring no specialized documentation.
- Deploy consumer equipment for initial drying. Run your dehumidifier and fans for 48 hours. Monitor reservoir fill rate as a rough indicator of moisture load. If the reservoir fills every 4-6 hours, moisture load is significant.
- Hire a professional for a documented moisture clearance reading at day 3. This is a single visit. The technician brings calibrated meters, takes readings at proper intervals, and produces a moisture log with photo documentation. If materials are dry, you have a professional clearance report to close your claim file. If materials are wet, you have early detection before secondary damage develops, and you can decide whether to hire full mitigation or extend DIY with better information.
The cost of a single-visit moisture clearance in Seattle ranges from $150-$350. It is the cheapest professional documentation you can buy, and it transforms your DIY work from an unverified assumption into a documented drying process.
At DryMark Restoration Seattle home, we perform these clearance visits regularly. We charge a flat rate, provide the moisture log and photo record, and make no pressure to expand into full mitigation if the readings support clearance. Haven Standard, Clause 1 applies: written price before any work starts, even for a single visit.
Cost Comparison: Real Numbers for Seattle
Homeowners deserve visible pricing. The ranges below reflect our experience with Seattle market rates in 2024-2025. Your specific loss may vary based on access, contamination level, and material type. Browse our more guides & resources for additional Seattle-specific restoration guidance.
| Service Component | DIY Cost Range | Professional Cost Range (Seattle) |
|---|---|---|
| Category 1 water mitigation, under 25 sq ft | $150-$400 (equipment rental/purchase) | $800-$1,800 |
| Category 1 water mitigation, 25-150 sq ft | $400-$900 (equipment + materials) | $1,800-$4,500 |
| Moisture clearance inspection only | $150-$350 (professional visit) | $150-$350 |
| Category 2 water mitigation | Not recommended - disposal protocols required | $3,500-$8,500 |
| Category 3 water / sewage | Not permitted - health code violation | $5,500-$15,000+ |
| Mold remediation, localized (<10 sq ft) | $200-$600 (PPE, containment, disposal) | $1,200-$3,500 |
| Mold remediation, moderate (10-100 sq ft) | Not recommended - airborne spore risk | $3,500-$10,000 |
| Fire/smoke damage restoration | Not viable - specialized equipment required | $8,500-$35,000+ |
The cost gap narrows significantly when insurance is involved. Most standard HO-3 policies cover professional water mitigation minus deductible, typically $1,000-$2,500. A homeowner who spends $400 on DIY equipment and faces a $12,000 mold remediation due to inadequate drying has lost money. A homeowner who pays a $1,500 deductible for professional mitigation with full documentation has protected their coverage for subsequent claims.
We offer a Free Second Opinion on any written estimate - bring a competitor’s quote and we will review it at no charge. This is Haven Standard policy, not a promotion.
Common Mistakes to Avoid
- Measuring only visible water. Water follows gravity and capillary action. In Seattle’s balloon-framed homes, a leak on the second floor can saturate wall cavities down to the foundation. Measure laterally and vertically from the visible stain, not just the stain itself.
- Using a pinless meter on structural materials. Pinless meters scan to 3/4 inch depth and read the wettest point in their field. They cannot distinguish surface moisture from core moisture in 2×4 studs or plywood subfloor. Use a pin meter with insulated shafts for depth-specific readings.
- Stopping when “it feels dry.” Human skin detects surface moisture poorly below 80% RH. Wood at 22% MC feels dry to touch but supports active fungal growth. Only a calibrated meter establishes dryness.
- Ignoring the vapor barrier effect. Vinyl wallpaper, oil-based paint, and closed-cell foam insulation trap moisture behind them. A wall that reads dry on the surface may hold 30% MC in the cavity. Invasive inspection or thermal imaging is required.
- Failing to document the source stop. Insurers require evidence that the water source was controlled. A photo of the repaired pipe, the replaced washer hose, or the sealed window is as important as the drying log.
- Discarding wet materials without photo inventory. Your contents coverage requires proof of loss. A pile of wet carpet pad at the curb is a reimbursed item that you cannot claim without before-and-after documentation.
- Assuming summer drying is faster. Seattle’s summer humidity often exceeds 70% with minimal temperature differential. Air conditioning helps, but many Seattle homes lack central AC. Do not assume seasonal advantage without measuring.
When to Call a Professional
Call a professional when any of the following apply: water category is 2 or 3; affected area exceeds 25 square feet; structural materials test above 19% MC; the loss involves a shared wall, rental unit, or home under warranty; you intend to file an insurance claim; or you cannot produce a calibrated, dated, photo-supported moisture log.
For water damage restoration in Seattle, mold remediation in Seattle, or any loss where documentation matters, DryMark Restoration Seattle offers free estimates - call (425) 671-5392. A live person answers every call, 24 hours a day, 7 days a week. We will provide a written price before any work starts, document every visit with a photo record, and stand behind our work with the 365-Day Done Right Promise under The Haven Standard.
Frequently Asked Questions
They may accept it, but they are not required to without documentation that meets their standard for “reasonable measures.” Most insurers require a third-party moisture log with calibrated equipment readings, dated photos, and a drying goal established in writing. Without this, they can deny subsequent mold claims as resulting from your failure to mitigate properly. If you are filing a claim, professional documentation is the safer path. Call (425) 671-5392 for a free estimate - we can advise on documentation requirements before you commit to any work.
Our live dispatch answers every call immediately, and emergency water mitigation crews are typically on site within 1-2 hours for Seattle addresses. Response time matters because microbial growth can establish in 48-72 hours. For non-emergency assessments, we schedule within 24 hours. The speed of professional response is one factor that often justifies the cost over extended DIY timelines.
For growth under 10 square feet on non-porous surfaces, EPA guidelines permit homeowner cleaning with detergent and water, followed by thorough drying. For growth exceeding 10 square feet, on porous materials (drywall, carpet, insulation), or in HVAC systems, professional remediation is recommended to prevent airborne spore dispersal. In Seattle’s humid climate, visible mold often indicates concealed growth that requires professional assessment. We offer a free second opinion on any competitor’s written mold estimate.
At DryMark Restoration Seattle, we document every job to the standard that adjusters expect: daily moisture logs, photo records on every visit, written scopes with line-item pricing, and direct adjuster coordination. We do not ask homeowners to negotiate their own claims. Our documentation package - the same standard we have applied to 12,000+ homes since 2011 - is designed to produce payable claims without dispute. You focus on your home; we handle the paperwork.
It is a written guarantee, not a marketing phrase. Under The Haven Standard, if any work we perform is not done right, we make it right - for one full year. The guarantee is signed and stamped on every job, not offered verbally. It exists because we have seen what happens when restoration companies disappear after the final invoice. We have operated under this standard since 2011.
For a small Category 1 loss under 25 square feet, DIY equipment costs $150-$400 versus $800-$1,800 professional. The professional cost includes documentation, calibrated drying, and warranty protection. For larger losses, the cost gap narrows and often reverses when secondary damage is considered. A single-visit moisture clearance inspection at $150-$350 offers a middle path. We provide written pricing before any work starts - Haven Standard, Clause 1 - so you know exactly where you stand. Call (425) 671-5392 for a free estimate.
The Bottom Line
The DIY-versus-professional question is not about your competence with tools. It is about whether you can produce documentation that will survive scrutiny from your insurer, your buyer’s inspector, and potentially a court. In Seattle’s humid climate, where drying is slow and secondary damage is common, the homeowner who dries without documenting has taken on liability that professional mitigation would have transferred.
The three-variable framework - Category 1 water, under 25 square feet, below 19% MC - gives you an objective standard. The hybrid approach - DIY extraction plus professional clearance - gives you cost control with documentation protection. And when the loss exceeds those parameters, professional restoration with written pricing, photo documentation, and a signed warranty is not an expense. It is evidence.
Written by Alicia Brennan, Owner at DryMark Restoration Seattle, serving Seattle since 2011.