
Last updated September 23, 2026
Free visual inspection and a written scope of work before any mitigation begins - photos, moisture readings, and drying logs go in your claim file
The scope we write is the scope we bill. Anything new gets shown to you, in writing, before we touch it.
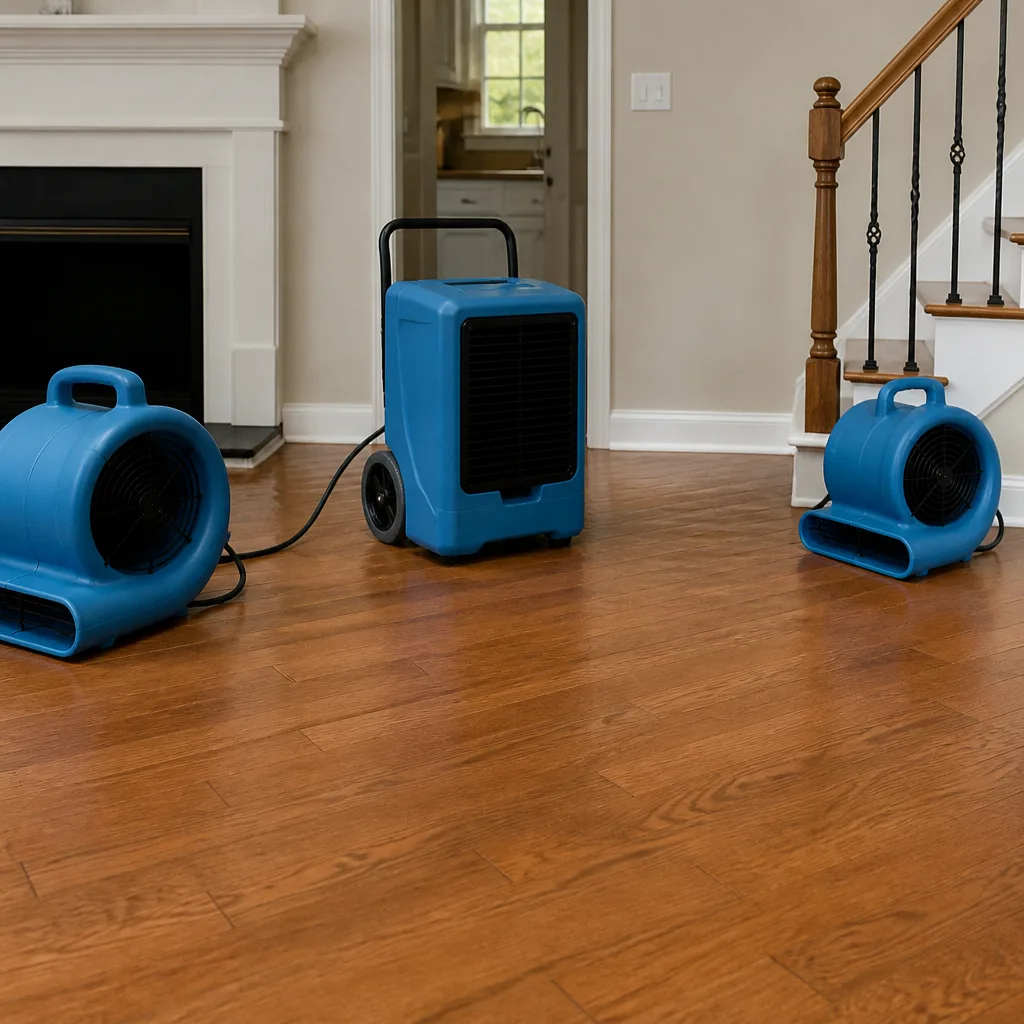

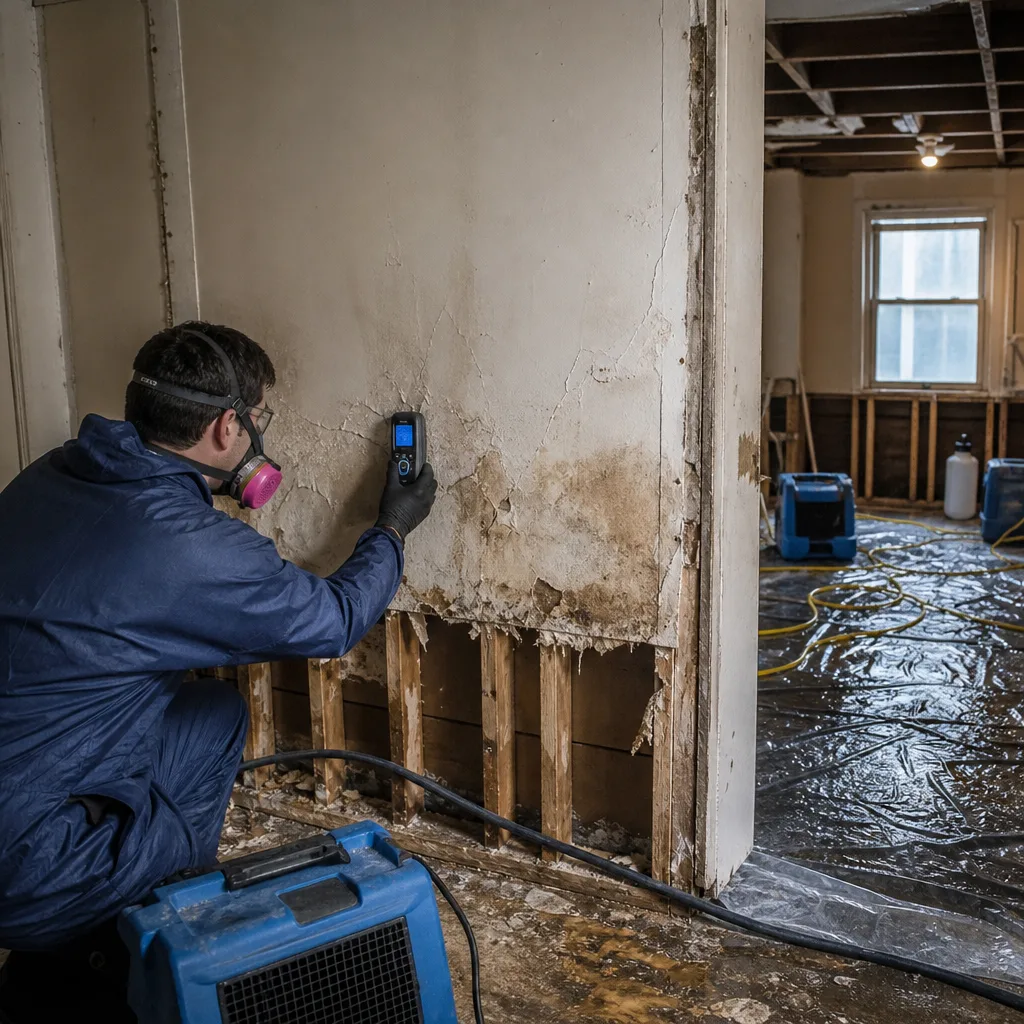 Before
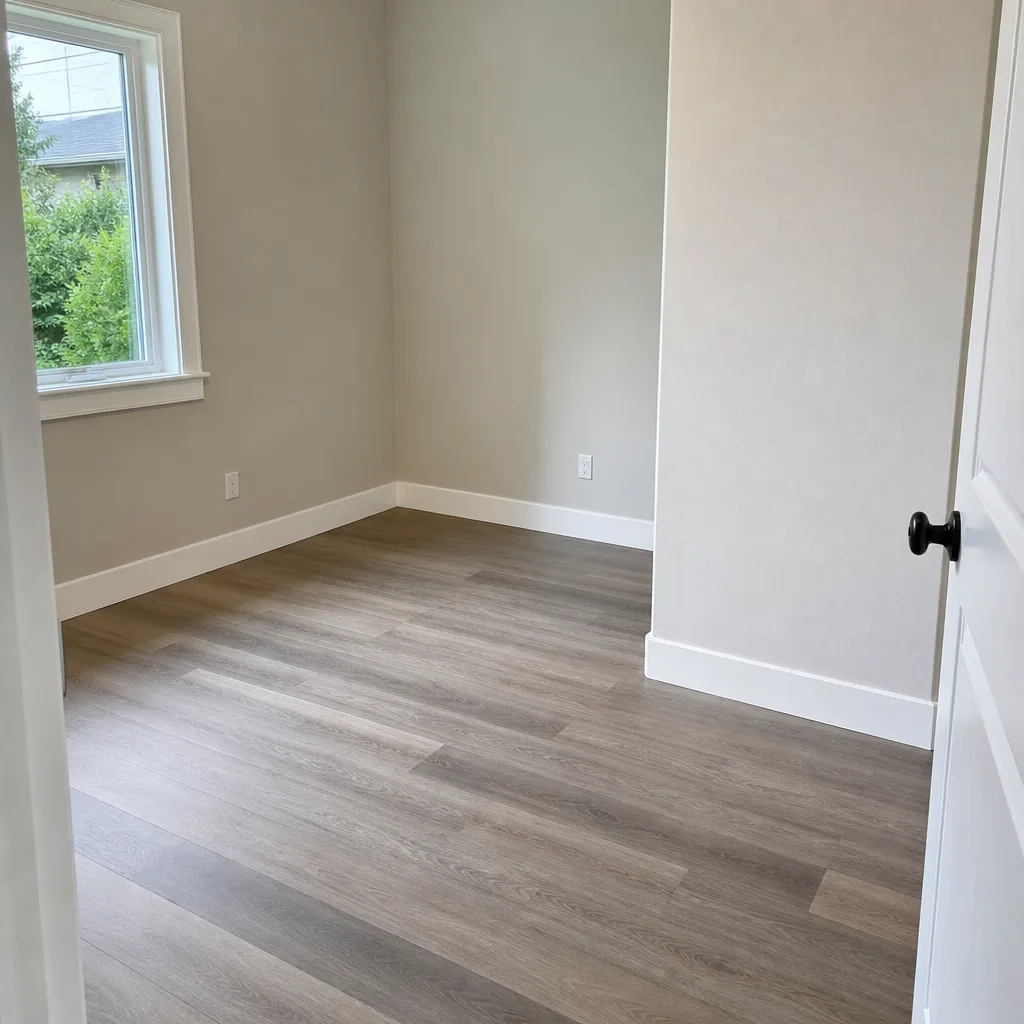 After
After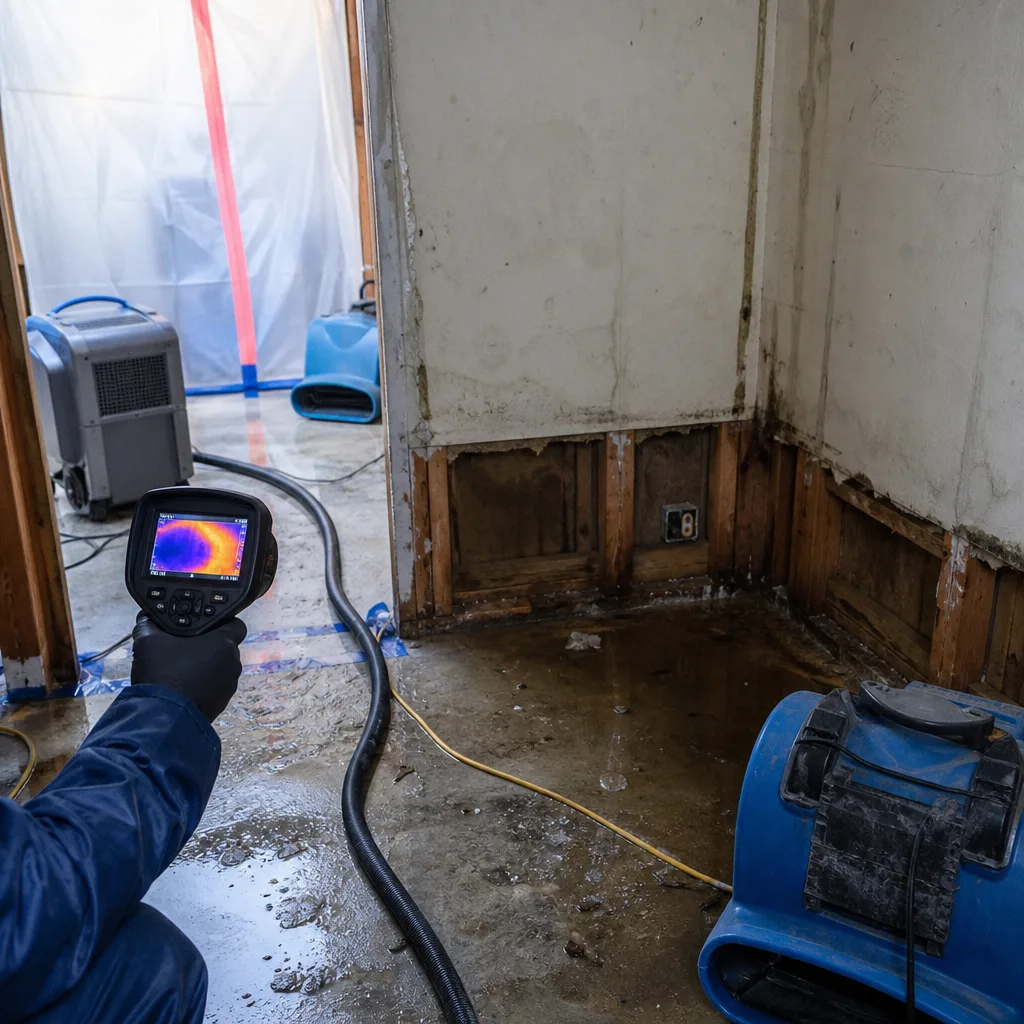 Before
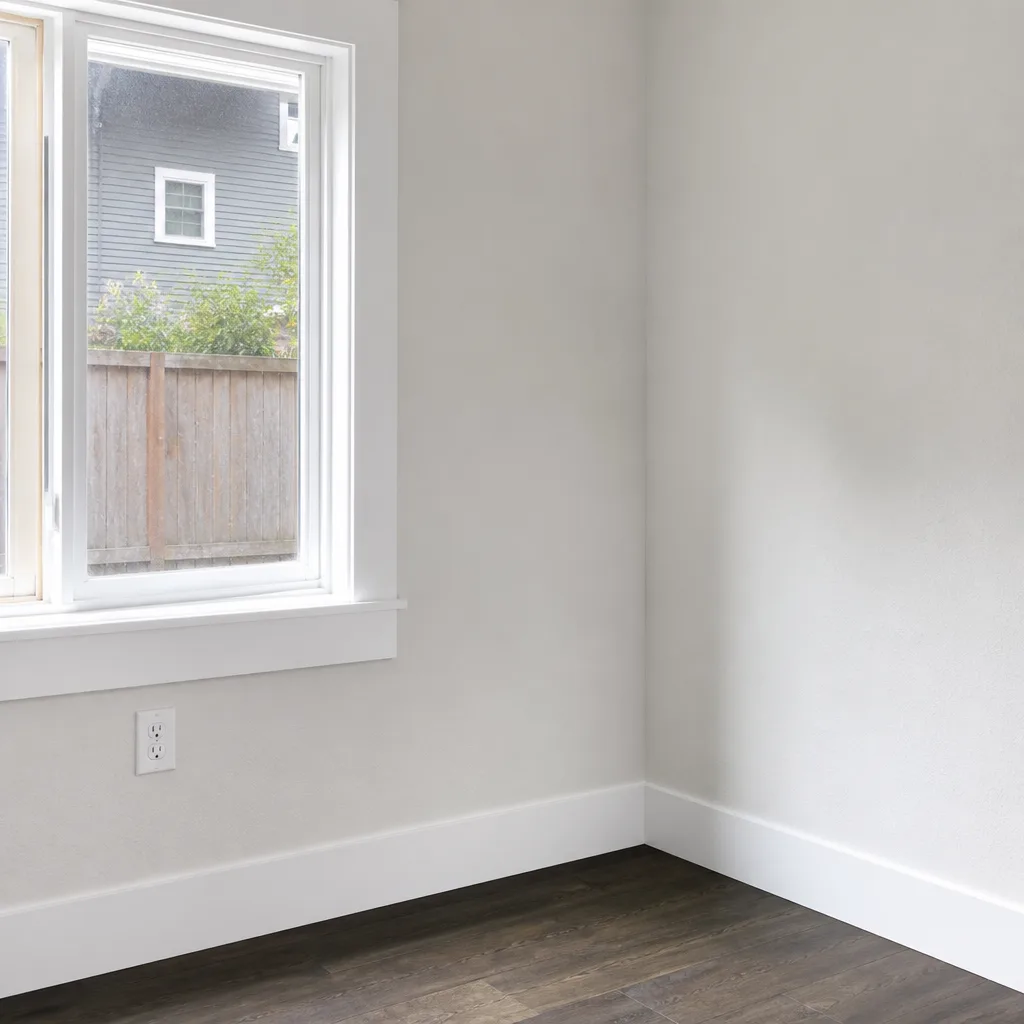 After
After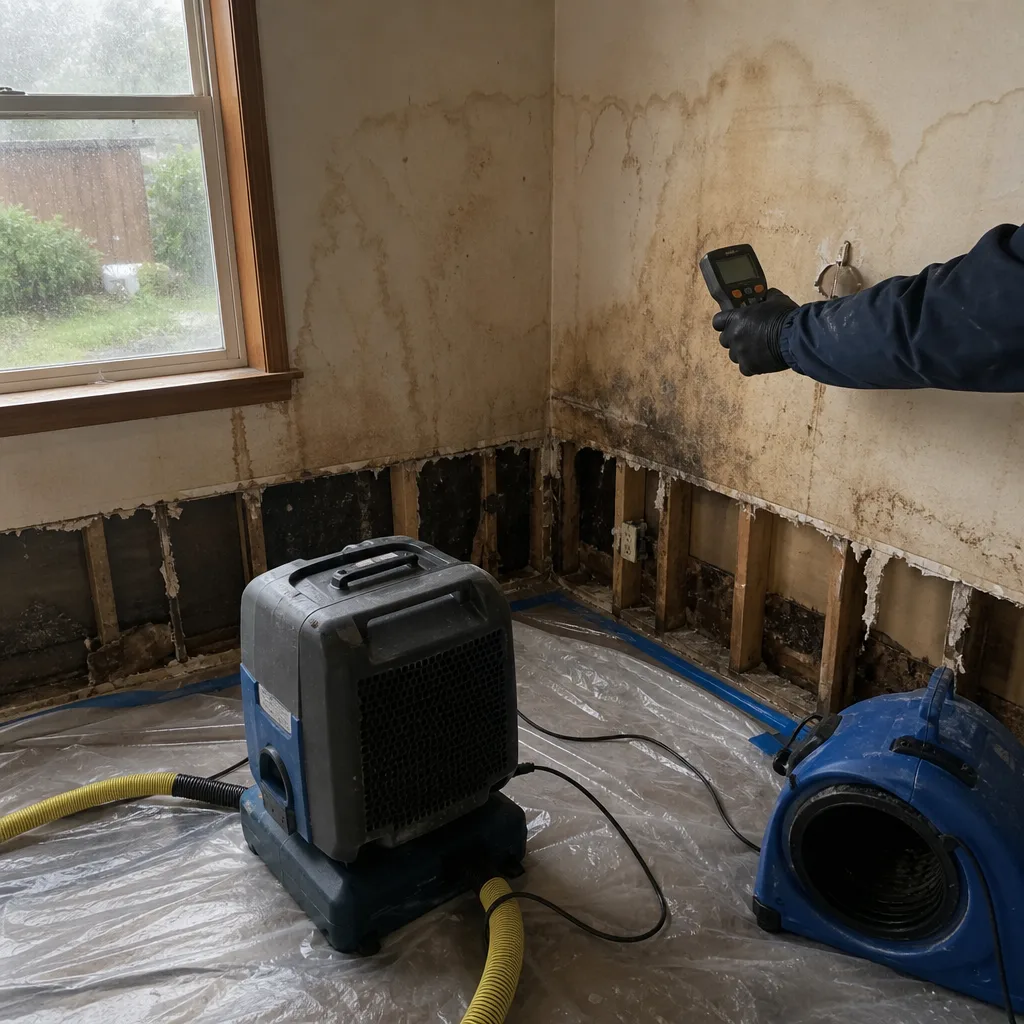 Before
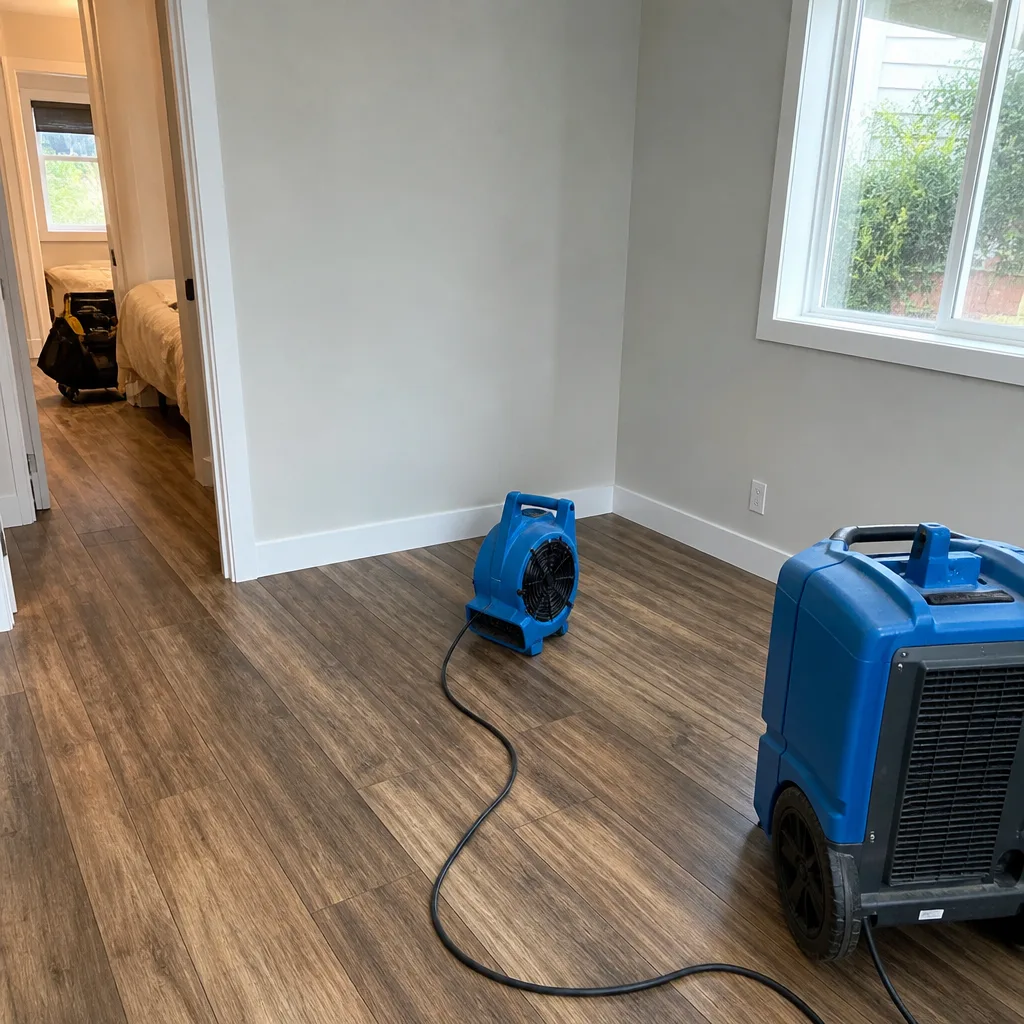 After
AfterDamage Restoration Warning Signs: A Seattle Homeowner’s Reference Guide
A moisture content reading of 17% in a Douglas fir floor joist is a data point. “The floor feels a little spongy” is a guess. Seattle restoration files are full of losses that started as guesses made too late. In our work across the metro since 2011, we’ve documented thousands of homes where the warning signs were visible for weeks or months before the homeowner called, but the signs were described in language too vague to act on. This guide replaces subjective terms with measurable thresholds, pairs each warning sign to a documentation standard, and shows you exactly when a monitoring situation becomes an active damage event requiring professional intervention.
Quick Answer
Seattle homeowners should watch for four measurable warning sign categories: moisture content above 16% in wood structural members, relative humidity above 70% in crawl spaces or attics, visible microbial growth on any porous surface, and water stains that expand or darken within a 48-hour period. These thresholds, not subjective descriptions like “musty” or “soft,” determine whether you’re observing normal Pacific Northwest conditions or documenting an active loss that requires mitigation and may be covered by insurance. For help deciding when to handle monitoring yourself and when to call a pro, see our DIY vs Professional Damage Restoration: The Seattle Homeowner’s Decision Guide.
Table of Contents
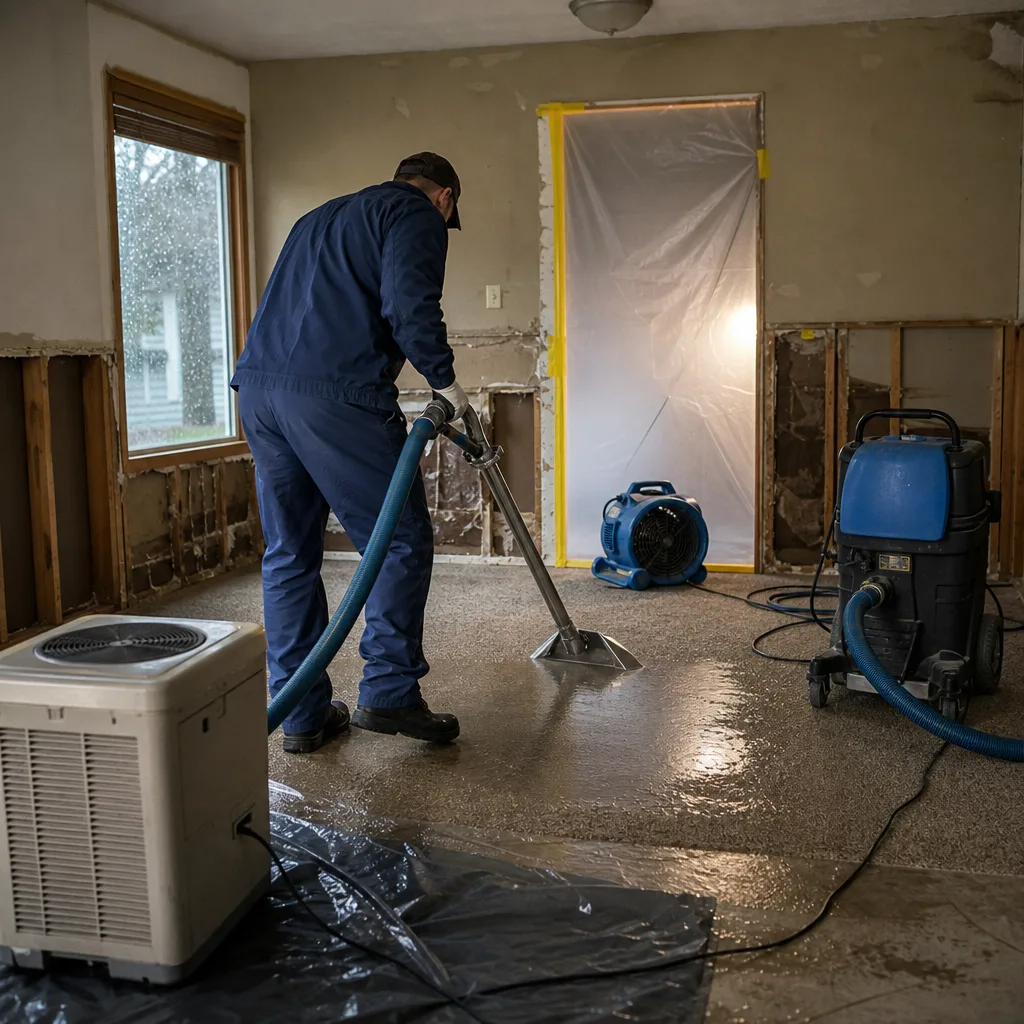
- From “Feels Damp” to Measurable Moisture Thresholds
- Seattle-Specific Warning Signs Homeowners Routinely Misread
- How to Photograph Warning Signs for Adjuster Documentation
- The 48-Hour Rule: When Clean Water Becomes Contaminated
- Warning Signs That Void Coverage If Ignored
- Room-by-Room Warning Sign Checklist
- Common Mistakes to Avoid
- When to Call a Professional
- Frequently Asked Questions
BeforeAfterFrom “Feels Damp” to Measurable Moisture Thresholds
Most online resources describe water damage warning signs in sensory language: musty odors, soft spots, visible mold. These descriptions fail because they’re untestable and they vary by observer. A homeowner in Magnolia with seasonal allergies may not register a smell that triggers immediate concern in a visitor from a drier climate. The floor that “feels fine” to a 220-pound contractor may already be structurally compromised.
We use this reference table on every water damage restoration in Seattle assessment. It pairs what you can observe to what you can measure, and it specifies the threshold that separates monitoring from mitigation.
| Observable Condition | Measurement Method | Threshold Requiring Action | Typical Seattle Context |
|---|---|---|---|
| Visible condensation on crawl space vapor barrier | Thermo-hygrometer reading at 12 inches above soil | Relative humidity above 70% | Common November through April; often normal January-February but requires active dehumidification if sustained past spring equinox |
| Staining at wall-ceiling intersection | Pin-type moisture meter at stain perimeter and 6 inches beyond | Moisture content above 16% in drywall or 20% in wood framing | Roof leak from wind-driven rain on south-facing slopes; ice dam backup in January thaws |
| Efflorescence on basement or foundation concrete | Calcium chloride test per ASTM F1869 | Above 3 lbs/1000 sq ft/24 hours | Hydrostatic pressure from saturated glacial till in Beacon Hill, Rainier Valley, and other areas with shallow bedrock |
| Buckling hardwood flooring | Moisture meter at subfloor, moisture meter at flooring surface | Subfloor-flooring differential above 4% | Oak and maple common in pre-1990 Seattle homes; Douglas fir in older construction more tolerant but not immune |
| Corrosion on copper supply lines | Visual inspection plus moisture reading at contact point | Any active moisture at pipe-wall interface | Galvanic corrosion accelerated by Seattle’s soft, acidic water; pinhole leaks precede visible failure by 6-18 months |
The calcium chloride test for efflorescence deserves particular attention. Many Seattle homeowners see white powder on basement walls and assume it’s “just mineral deposits,” a benign byproduct of age. The test measures vapor emission rate, which tells you whether water is actively moving through the concrete under hydrostatic pressure. A reading above 3 pounds per 1000 square feet per 24 hours means the foundation is transmitting enough moisture to support mold growth on any organic material in contact with it, and to degrade adhesives, flooring systems, and wall assemblies over time. We’ve replaced entire basement finishes in Wallingford and Green Lake homes where the homeowner monitored efflorescence for years without testing.
Moisture content in wood is equally misunderstood. “Air-dried” lumber in Seattle’s climate stabilizes at 12-15% moisture content. A reading of 16% or higher in structural wood indicates active water intrusion, not ambient humidity. At 20%, wood-decay fungi activate. At 28%, you have conditions suitable for Stachybotrys chartarum on cellulose substrates. These are not opinions. They’re the thresholds that determine whether your documentation will support an insurance claim or whether the adjuster will classify the damage as long-term maintenance neglect.
Seattle-Specific Warning Signs Homeowners Routinely Misread
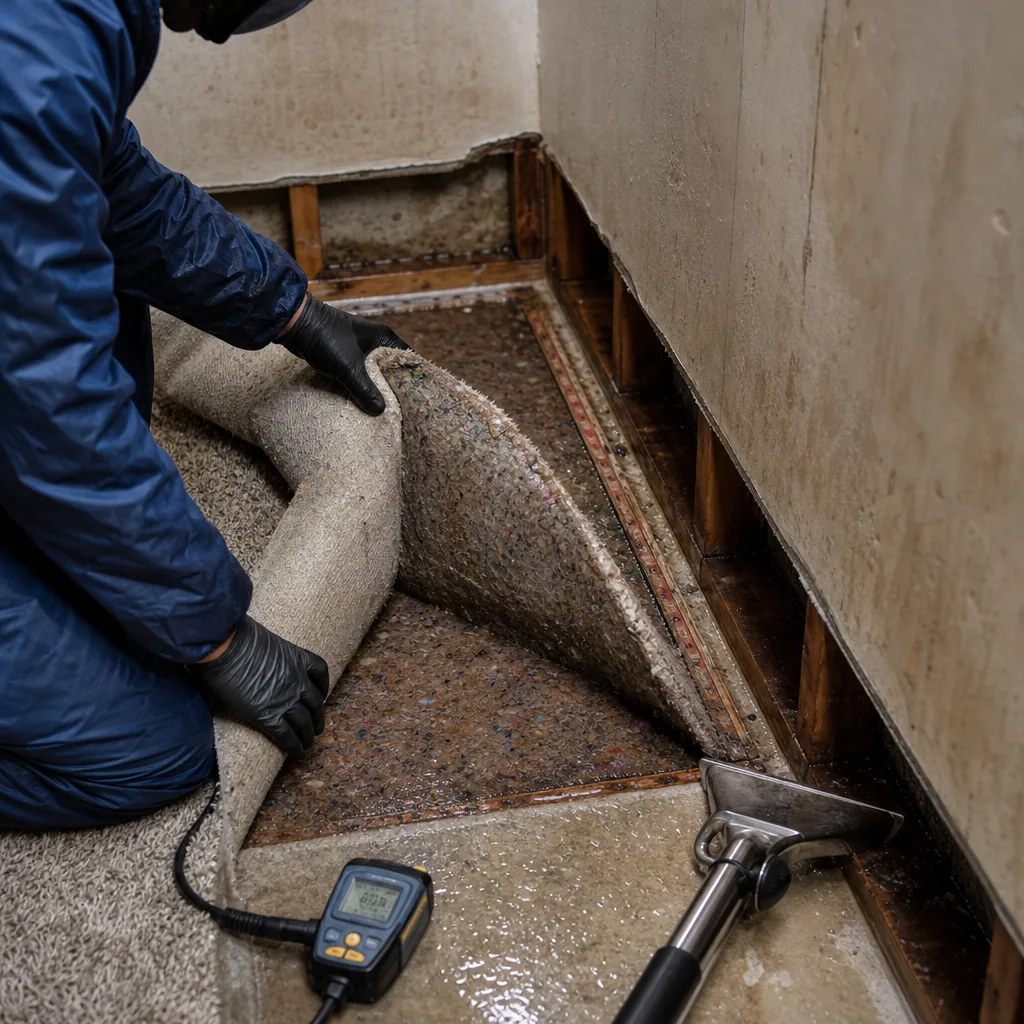
Seattle’s climate, construction history, and soil conditions produce warning signs that contractors from other markets misdiagnose, and that local homeowners learn to dismiss as “just how it is here.” In 12,000+ assessments since 2011, we’ve seen the same misattributions repeat across neighborhoods, eras, and housing types.
Nail pops blamed on settling
Drywall nail pops occur when the fastener backs out of the stud, pushing compound and paint outward in a small dome. Contractors and homeowners in Seattle frequently attribute these to “normal settling,” especially in homes built on Seattle’s clay-heavy glacial soils. The correct diagnosis is often cyclical moisture expansion in the sheathing. When OSB or plywood sheathing absorbs moisture from a roof leak, inadequate ventilation, or high attic humidity, it expands and contracts across seasons. This movement works fasteners loose. The pop is not structural settling. It’s a moisture event documented in the fastener.
Check the nail pop pattern. Random distribution suggests settling. Linear patterns following framing members, especially on cathedral ceilings or upper-story walls, indicate sheathing movement from moisture cycling. Measure attic humidity and sheathing moisture content before accepting the settling explanation.
Door sticking blamed on heat or humidity
Interior doors that stick seasonally are common in Seattle, and the usual explanation is summer humidity swelling the jamb. This is sometimes correct. More often, in our experience, early-stage foundation moisture is the cause. When perimeter drainage fails or a downspout discharges against the foundation, moisture enters the sill plate and bottom studs. The wall assembly swells at the base, distorting the door frame from below rather than from the jamb sides. The distinction matters because humidity-related sticking resolves seasonally; foundation moisture progresses until it damages the sill, the subfloor, and the wall base.
Test the diagnosis: if the door sticks in winter and frees in summer, humidity is likely. If it sticks progressively, or if you can see trim separation or baseboard gapping at the floor, measure moisture content at the sill plate. In Ballard and Fremont, where many homes sit on filled wetlands with compromised perimeter drains, we’ve found sill plate moisture above 25% in homes where the owner had attributed door binding to “old house quirks” for two years.
Attic black staining blamed on age
Dark discoloration on attic sheathing is often described by inspectors and homeowners as “oxidation,” “age staining,” or “sap bleed.” In Seattle’s cool, humid attics, this is frequently early-stage Stachybotrys chartarum or Aspergillus growth on the cellulose surface of the sheathing. The confusion arises because the staining often appears uniform across large areas, not in the patchy, fuzzy colonies shown in mold awareness pamphlets. Uniform darkening is how these fungi present on raw wood in conditions of chronic, low-grade moisture.
The critical test is whether the discoloration wipes off with a damp cloth. True sap bleed or oxidation will not. Microbial staining will transfer, though lightly. More definitively, a tape lift sample analyzed by a qualified laboratory, or a moisture meter reading above 19% in the sheathing, establishes whether you’re looking at a cosmetic condition or an active microbial colonization requiring mold remediation in Seattle.
Window condensation blamed on single-pane glass
Seattle’s older housing stock includes many single-pane windows, and condensation on these is often dismissed as inevitable. The relevant measurement is dew point differential, not glass type. Condensation forms when interior surface temperature drops below the dew point of the interior air. In a properly ventilated room at 68°F and 50% relative humidity, single-pane glass at 35°F exterior temperature will condense. But the same glass with interior humidity at 30% will not, and double-pane glass with a failed seal and interior humidity at 60% will.
Persistent window condensation, especially on upper-floor windows or in rooms without obvious moisture sources, indicates elevated interior humidity from a source that needs identification: crawl space moisture migration, concealed plumbing leak, or inadequate exhaust ventilation. Document the pattern before replacing windows. We’ve seen homeowners in Capitol Hill and Queen Anne spend $15,000 on window replacement only to find condensation returns within a season because the source was a leaking shower pan on the floor below.
How to Photograph Warning Signs for Adjuster Documentation
Insurance adjusters evaluate claims from photographs. The quality of your documentation determines whether your claim is paid, delayed, or denied. At DryMark Restoration Seattle home, we deliver a photo record on every visit as a standard deliverable, not an upsell. The protocol below is what our technicians follow, and what we recommend for homeowners documenting conditions before professional arrival.
- Establish scale reference. Place a recognizable object of known size in the frame: a standard business card, a tape measure extended to 6 inches, or a coin. This allows the adjuster to assess the extent of staining, cracking, or deformation without site visit.
- Enable date and time stamp. Use camera settings that embed EXIF data, or photograph a phone screen showing the current date and time alongside the condition. Adjusters verify chronology; timestamp disputes are a common denial basis.
- Photograph location markers. Include a wide shot showing the room context: the window that identifies the wall orientation, the fixture that establishes the floor, the street-visible landmark if photographing exterior conditions. This prevents disputes about which area of the property is depicted.
- Pair wide and close-up. Every condition gets two photographs minimum: one from 6-8 feet showing the full affected area and its relationship to surrounding structure, one from 12-18 inches showing surface detail. Without the wide shot, the adjuster cannot assess extent. Without the close-up, they cannot assess severity.
- Photograph the measurement. If you’ve taken a moisture reading, photograph the meter display in contact with the affected material. The reading without the location is unsupported; the location without the reading is unquantified.
- Document progression. If a stain expands, a crack lengthens, or a floor buckles further, re-photograph using the same position and scale reference. Sequential documentation establishes timeline, which determines whether damage is sudden and accidental (covered) or long-term and gradual (typically excluded).
We include this protocol in our written scope before work begins on every job. Haven Standard, Clause 1 requires a written price before work starts; the photo record is the documentation that makes that price defensible to your insurer. In Seattle’s competitive housing market, where many homeowners carry higher deductibles to manage premiums, proper documentation often determines whether the loss exceeds your out-of-pocket threshold.
The 48-Hour Rule: When Clean Water Becomes Contaminated
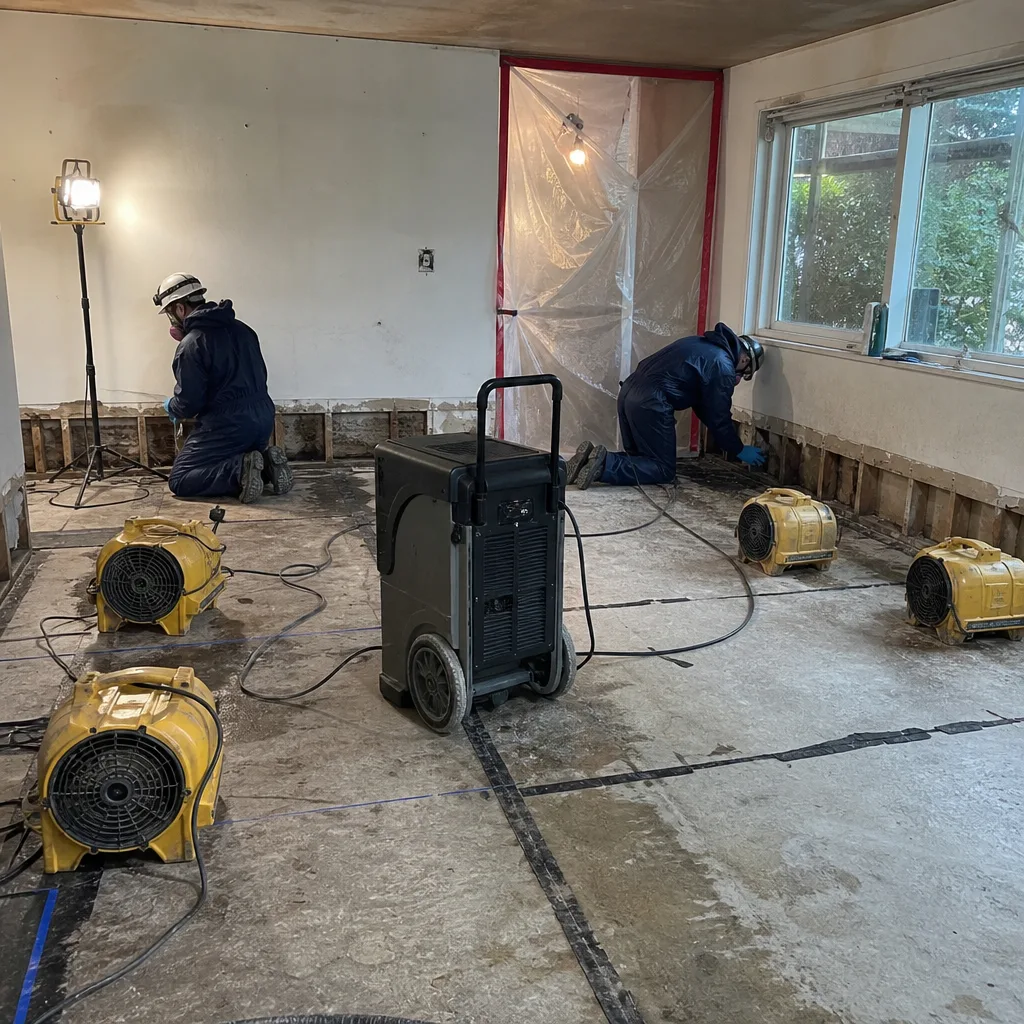
Water damage in Seattle homes is classified by contamination level. Category 1, or “clean water,” originates from a sanitary source: supply line break, tub overflow, rainwater intrusion. Category 2, or “gray water,” contains significant contamination and has the potential to cause discomfort or sickness. Category 3, or “black water,” is grossly contaminated and includes sewage, rising flood water, and water from Category 2 sources left untreated.
The 48-hour rule governs the transition between categories. At Seattle’s typical indoor temperatures of 62-68°F in winter and 68-74°F in summer, Category 1 water left in contact with building materials for more than 48 hours degrades to Category 2. The mechanism is microbial amplification: bacteria and fungi present in dust and on surfaces colonize the wet environment, reaching population levels that change the water’s classification regardless of its original source.
This matters for three reasons. First, Category 2 water requires more extensive removal of affected materials; carpet pad, for instance, is typically removed rather than dried in place. Second, insurance coverage language often distinguishes between categories, with some policies limiting or excluding Category 2 and 3 events. Third, the documentation of when water intrusion began, and when mitigation started, determines how the loss is classified and therefore how it’s paid.
Seattle’s climate extends the risk window in ways that surprise homeowners. Cooler temperatures slow microbial growth, but they also slow evaporation, keeping materials wet longer. A supply line leak in an unheated crawl space at 50°F may not reach Category 2 in 48 hours, but the materials remain wet for 72-96 hours, and the total microbial load at 96 hours equals or exceeds the warm-climate 48-hour threshold. Conversely, a summer leak in an attic at 80°F with poor ventilation can reach Category 2 in 24-36 hours.
The practical rule: if you discover water intrusion and cannot confirm when it began, assume Category 2 after 48 hours from discovery, and document your discovery time with a timestamped photograph. If you discover active intrusion, stop the source if safely possible, remove standing water with available means, and call for professional assessment within 24 hours. Not sure who to call? Read How to Hire a Damage Restoration Contractor in Seattle: A Step-by-Step Guide first. The cost difference between Category 1 mitigation and Category 2 remediation in a typical Seattle ranch home is $2,800-$4,500, and that difference is often borne by the homeowner if documentation shows delay.
Warning Signs That Void Coverage If Ignored
Standard homeowners policies and NFIP flood policies both contain “reasonable care” or “duty to mitigate” provisions. These clauses require the policyholder to take reasonable steps to protect property from further damage after a loss. What constitutes “reasonable” is interpreted from documentation, and warning signs that were photographed, then ignored, are among the most common bases for partial or complete claim denial.
The following patterns appear repeatedly in Seattle claim files we’ve reviewed as part of our Free Second Opinion service:
- Documented moisture readings above threshold with no action. A homeowner receives a home inspection noting crawl space humidity at 78%, photographs the report, and takes no action for 18 months. When rot damage is later discovered, the insurer denies the structural claim based on the documented pre-existing condition.
- Progressive staining photographed over time. A ceiling stain that appears in October, is photographed in December, and is reported when the drywall collapses in March. The sequential photos establish the timeline; the delay between documentation and report violates the duty to mitigate.
- Previous professional assessment with no follow-through. A plumber documents a leaking shower pan and recommends replacement. The homeowner delays for budget reasons. Six months later, mold remediation and subfloor replacement are needed. The insurer may cover the original leak repair but exclude the consequential damage as resulting from known, unaddressed maintenance.
- Neighbor notification of shared condition. In Seattle’s dense multifamily and townhouse construction, a neighbor’s documentation of a shared wall or foundation condition that affects your unit can be used to establish your knowledge. If Unit A documents foundation moisture and notifies Unit B, Unit B’s later claim for the same condition may be denied for failure to mitigate after notice.
The protection is documentation paired with timely action. Photograph the condition, record the date, and either remediate or obtain a professional assessment with written recommendations within 30 days. The assessment itself satisfies the duty to mitigate if you follow its recommendations or document why they’re not immediately feasible. “I was waiting to see if it got worse” is not a recognized defense.
Our written scope, delivered before work begins under Haven Standard, Clause 1, includes a damage timeline section that documents when conditions were first observable, when they were reported, and what steps were taken. This document is designed for direct submission to your adjuster and has been used in hundreds of Seattle claims without dispute.
Room-by-Room Warning Sign Checklist
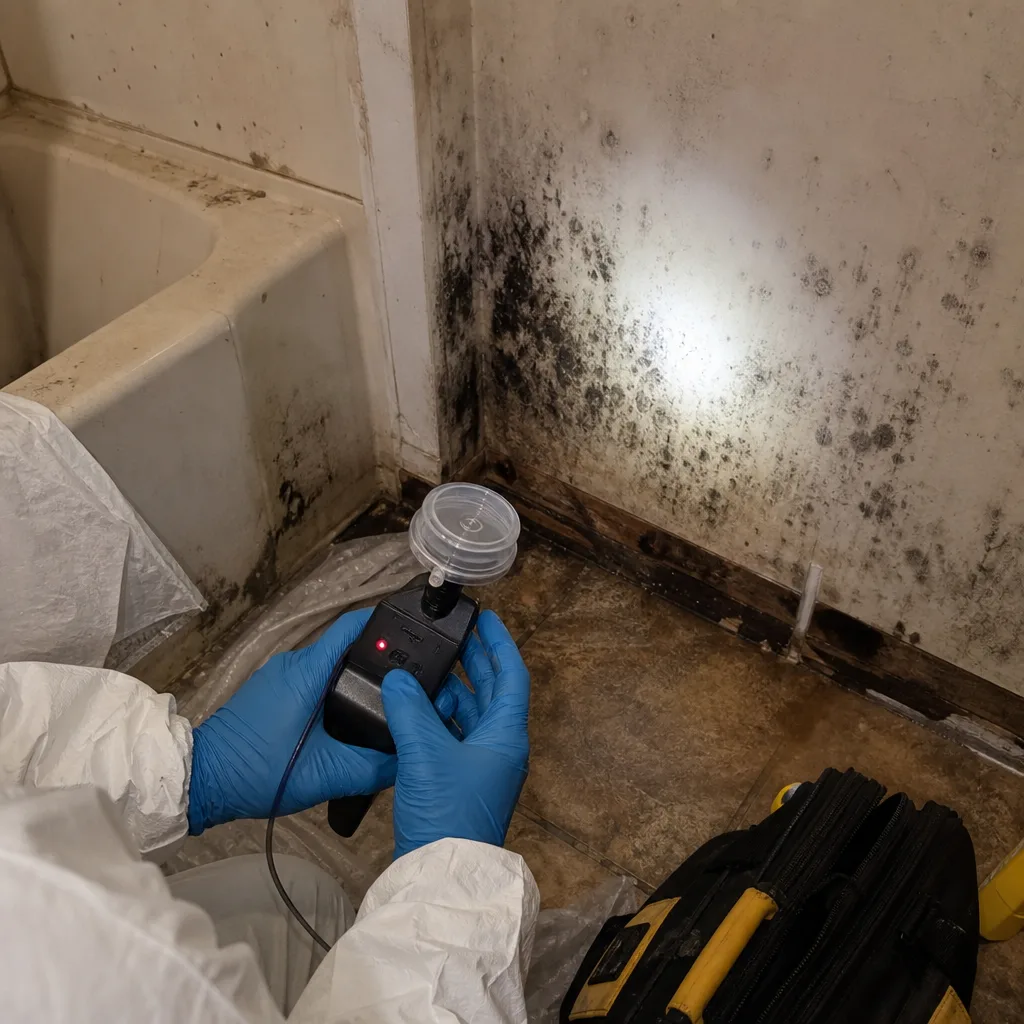
Seattle homes vary by era, from 1900s Craftsman bungalows in Wallingford to 2010s townhomes in South Lake Union to mid-century ramblers in Wedgwood. The warning signs vary by construction type, but the measurement thresholds remain constant. Use this checklist by room, with the measurement protocols from Section 1.
Crawl Space and Basement
- Visible condensation on vapor barrier or foundation walls: measure RH at 12 inches above soil
- Efflorescence on concrete: calcium chloride test before assuming source
- Musty or earthy odor: not a measurement, but an indicator to deploy thermo-hygrometer across multiple locations
- Insect activity increase: springtails and silverfish proliferate above 70% RH; their presence is a humidity indicator
- Sagging insulation: indicates past or present water contact; inspect vapor barrier condition below
Kitchen
- Staining at cabinet base or toe-kick: moisture meter at subfloor, not just visible surface
- Dishwasher or refrigerator supply line corrosion: any active moisture at compression fitting
- Grout discoloration at wall-floor junction in tile installations: may indicate pan failure in adjacent shower if on shared wall
- Cabinet door misalignment: moisture swelling in particleboard substrates common in post-1980 Seattle construction
Bathroom
- Tile grout cracking in shower enclosure: indicates substrate movement from moisture cycling
- Caulk separation at tub-shower junction: allows direct water intrusion to wall cavity; measure moisture in adjacent room if accessible
- Fan duct condensation in attic: indicates inadequate fan capacity or duct insulation; check for attic sheathing staining above
- Floor tile “drummy” sound when tapped: indicates debonding from moisture at thinset interface
Attic
- Dark sheathing discoloration: tape lift or moisture reading before accepting “age” explanation
- Frost on nail points in winter: indicates warm, moist air infiltration; measure attic RH and trace air leakage path
- Compressed or stained insulation: indicates roof leak history; inspect sheathing above for active moisture
- Rust on metal components: fastener corrosion indicates sustained humidity above 80%
Exterior and Roof
- Gutter overflow at valleys: indicates blockage or inadequate capacity; inspect soffit and fascia for moisture intrusion path
- Shingle granule accumulation in gutters: indicates accelerated wear, often from moisture retention or poor ventilation
- Foundation planting bed above sill line: creates direct moisture wicking path; measure sill plate moisture content
- Downspout discharge within 6 feet of foundation: Seattle code requires diversion; non-compliance is a documented maintenance issue that insurers reference
Common Mistakes to Avoid
- Using “smell” as your primary diagnostic. Olfactory adaptation means you stop perceiving odors in your own home within 20 minutes. Visitors detect what you cannot. Measure instead.
- Assuming new construction is dry. Seattle’s wet framing seasons and tight building envelopes trap construction moisture that activates mold in year one if the envelope is closed before materials reach equilibrium moisture content.
- Treating visible mold as the problem rather than the indicator. Mold on a surface indicates moisture conditions suitable for growth. Killing the mold without fixing the moisture condition guarantees recurrence, and insurers increasingly exclude repeat remediation.
- Waiting for “enough” damage to justify a claim. The duty to mitigate requires action when damage is first observable. Delay to increase claim size often produces denial rather than larger payment.
- Accepting “normal for Seattle” as a diagnosis. Every condition has a measurable threshold. “Normal” is a description of frequency, not a determination of whether action is required.
- Photographing without scale or location. Adjuster files contain thousands of unusable close-ups that cannot be mapped to a structure. The photo that cannot be located is the photo that cannot be paid.
- Discarding documentation from previous owners. Prior inspection reports, repair invoices, and disclosure statements establish the property’s condition history. Insurers request these; their absence creates presumptions against the claimant.
When to Call a Professional
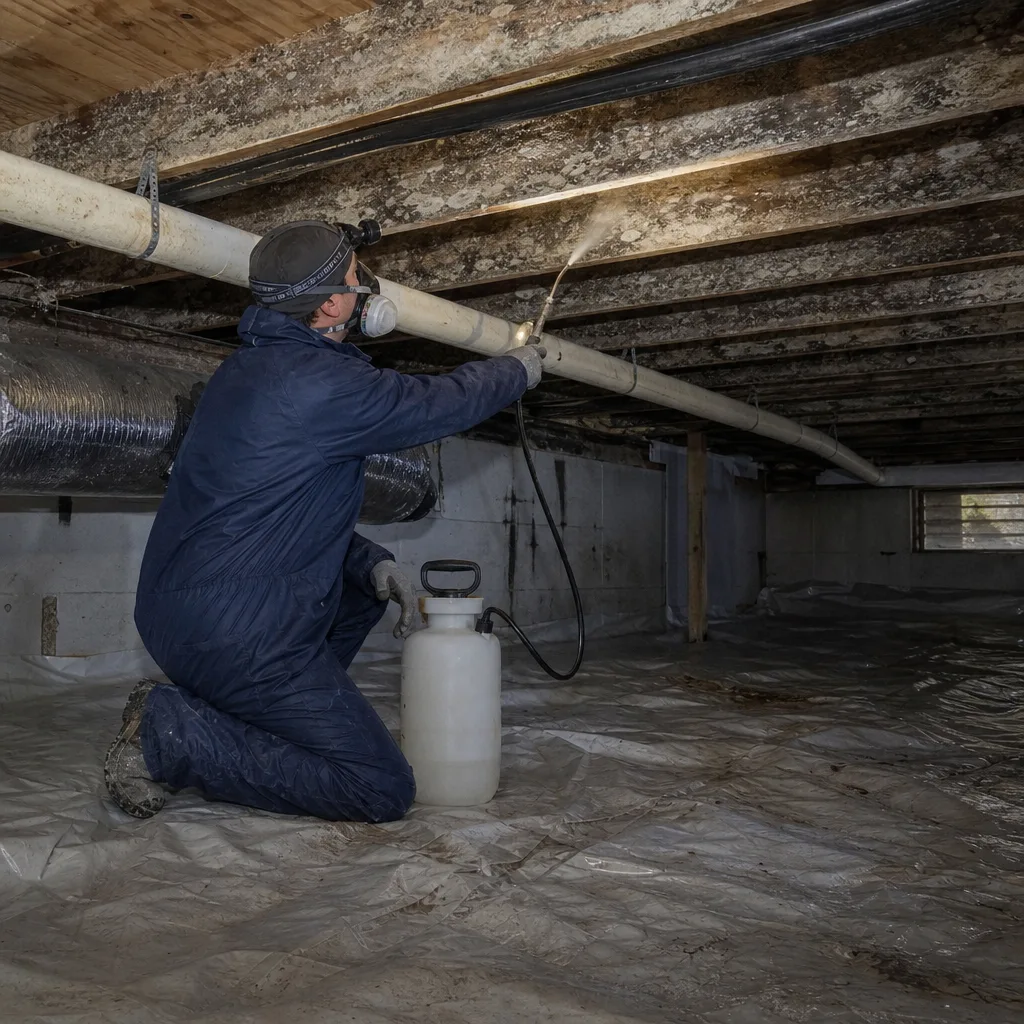
Call for assessment when any moisture reading exceeds the thresholds in this guide, when you cannot identify the moisture source, when a condition progresses despite your intervention, or when you’re documenting for an insurance claim and need a written scope. Do not wait for visible mold, structural deformation, or odor confirmation; these are late-stage indicators, not early warnings.
DryMark Restoration Seattle home offers free estimates in Seattle. Call (425) 671-5392. Every assessment includes moisture mapping, a written scope with line-item pricing before work begins, and a photo record documented to IICRC, RIA, and IFA standards. Our live dispatch answers every call, 24 hours a day, 7 days a week, with no voicemail on emergency lines.
Frequently Asked Questions
Reputable restoration companies in Seattle typically provide initial moisture mapping and assessment at no charge for homeowners, with the understanding that you’ll receive a written scope for remediation if conditions warrant. DryMark Restoration Seattle includes moisture mapping, thermal imaging, and written findings as part of every free estimate. Call (425) 671-5392 to schedule.
Coverage depends on whether the damage is classified as sudden and accidental versus gradual and resulting from maintenance neglect. The critical factor is documentation: timestamped photos, professional assessments, and records of any action taken. Policies vary; we review your documentation and provide a Free Second Opinion on any written estimate, including insurer scopes, at no charge.
For active water intrusion with standing water or saturated structural materials, same-day response is standard for emergency mitigation companies. DryMark Restoration Seattle maintains live phone coverage 24 hours a day, 7 days a week with no voicemail on emergency lines, and dispatches background-checked, uniformed technicians with documented license verification. Reconstruction and non-emergency work is scoped, scheduled, and priced in writing like any remodel.
The determination requires laboratory analysis of the growth and measurement of moisture conditions that support it. Surface cleaning without moisture correction guarantees recurrence. Our assessments include tape lift or air sampling, moisture mapping, and a written scope that specifies either remediation with moisture correction or monitoring with dehumidification, depending on findings. The written price is delivered before work begins, every time, with no exceptions.
We coordinate directly with your adjuster, providing the daily drying logs, photo documentation, and written scopes that turn restoration invoices into payable claims. This documentation-first approach, built from our founder’s background as a claims adjuster, is why we include a photo record on every visit as a standard deliverable. You receive copies of all documentation submitted to your insurer.
Consumer pin-type meters measure surface moisture at the contact point. Professional assessment uses pinless electromagnetic sensors for non-destructive subsurface readings, thermo-hygrometers for ambient conditions, thermal imaging for temperature differentials that indicate moisture, and psychrometric calculations to determine vapor pressure and drying potential. The consumer meter tells you a spot is wet. Professional equipment tells you the extent, the source, the drying rate, and when the structure has returned to equilibrium.
The Bottom Line
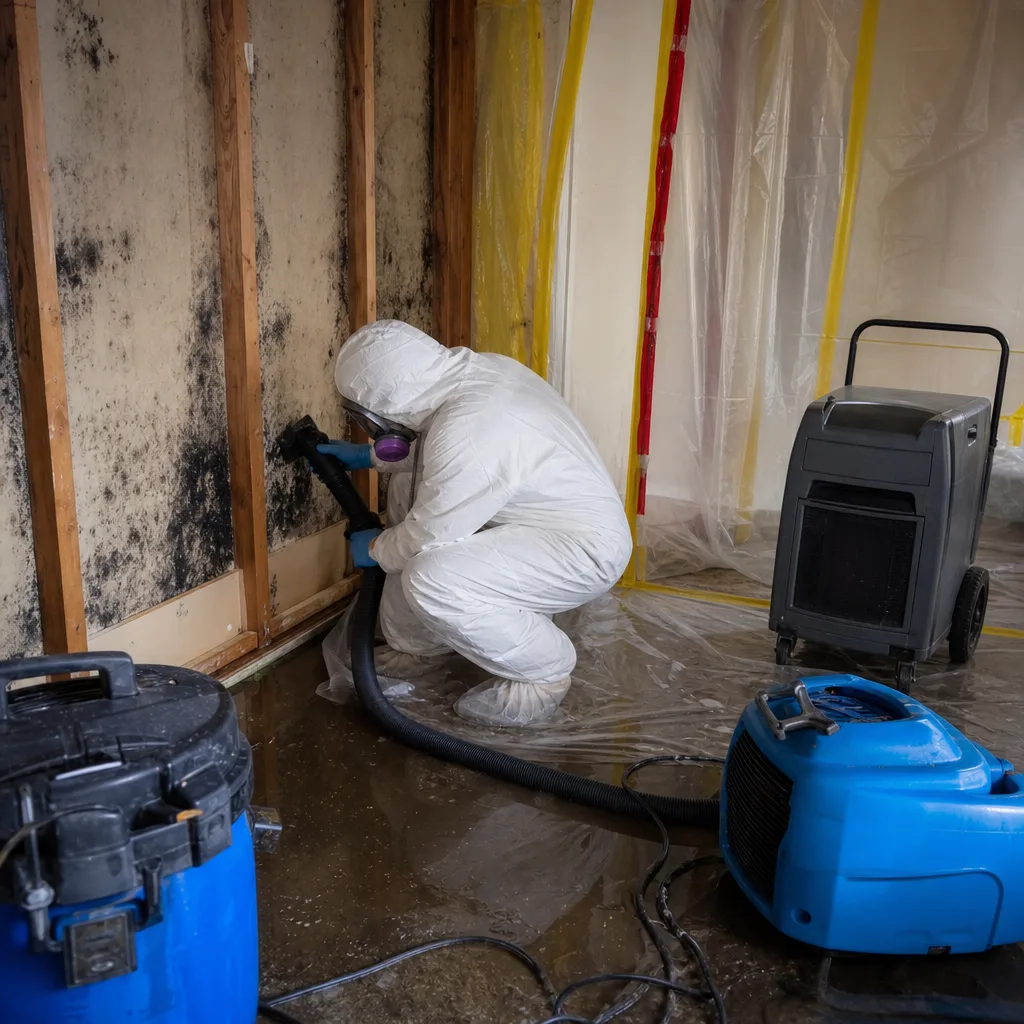
Warning signs are not mysterious. They are measurable conditions with defined thresholds that separate normal observation from active damage. The Seattle homeowner who documents moisture content, relative humidity, and progression with timestamped photographs transforms a subjective worry into an objective record that insurers pay and contractors can act on. The homeowner who waits for confirmation through smell, visible mold, or structural failure documents only that the damage was known and ignored. At DryMark Restoration Seattle, every job begins with measurement, continues with documentation, and ends with a written warranty under The Haven Standard. Explore our more guides & resources for additional homeowner tools. The 365-Day Done Right Promise applies to every project we complete, backed by the same documentation protocol that supports your claim.
Written by Alicia Brennan, Owner at DryMark Restoration Seattle, serving Seattle since 2011.